Product Images Gammagard Liquid

View Photos of Packaging, Labels & Appearance

Product Label Images

The following 29 images provide visual information about the product associated with Gammagard Liquid NDC 0944-2700 by Takeda Pharmaceuticals America, Inc., such as packaging, labeling, and the appearance of the drug itself. This resource could be helpful for medical professionals, pharmacists, and patients seeking to verify medication information and ensure they have the correct product.

gammagard 18

gammagard 18

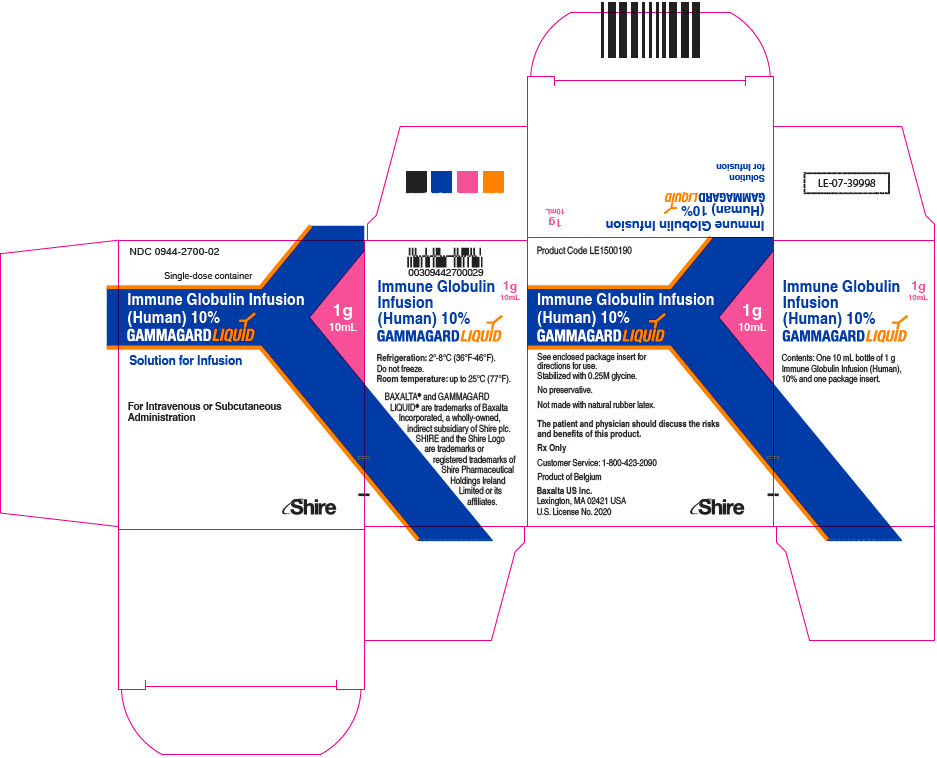
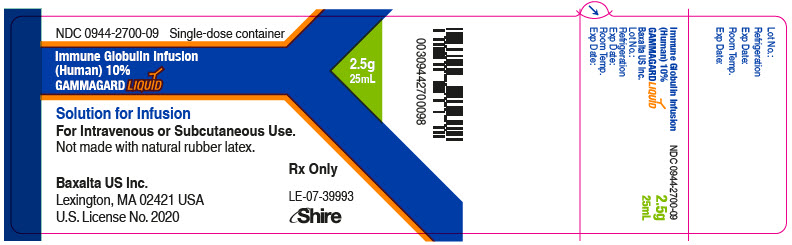
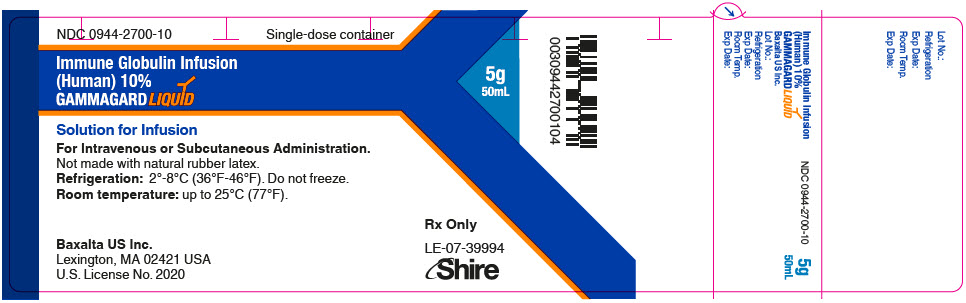
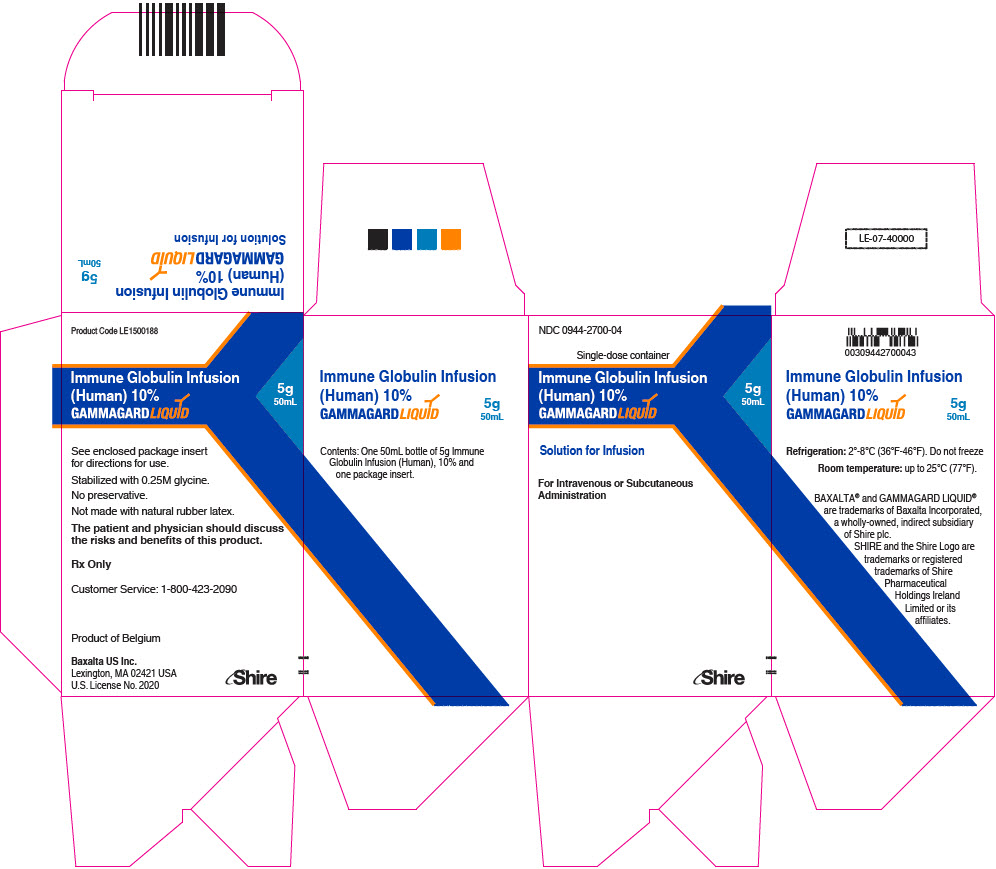
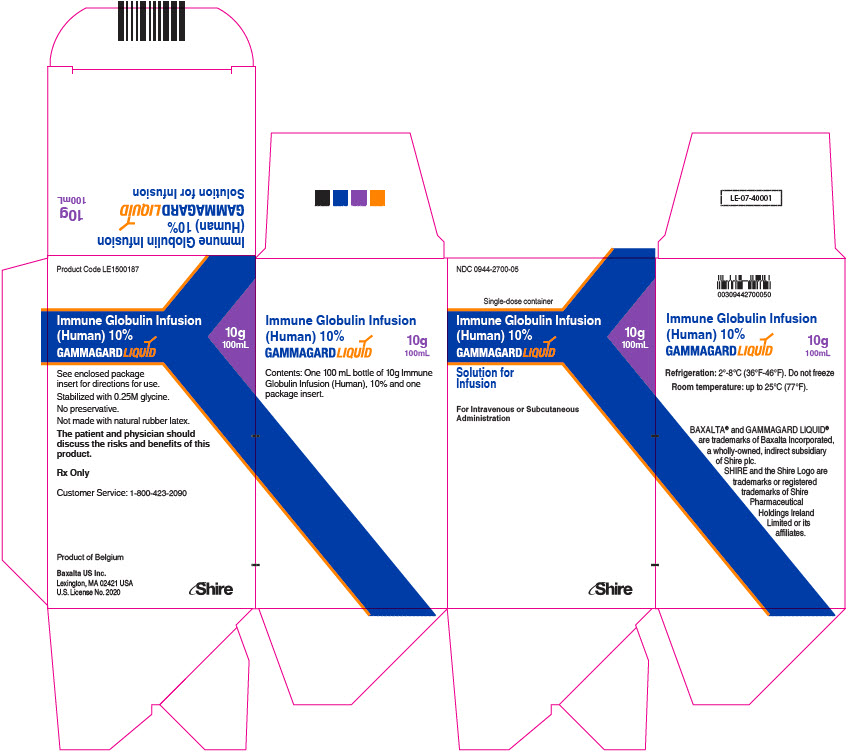
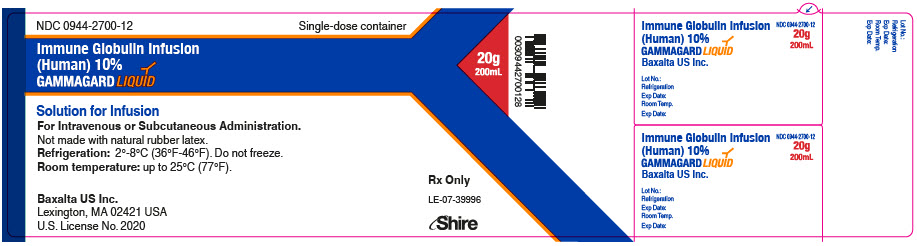
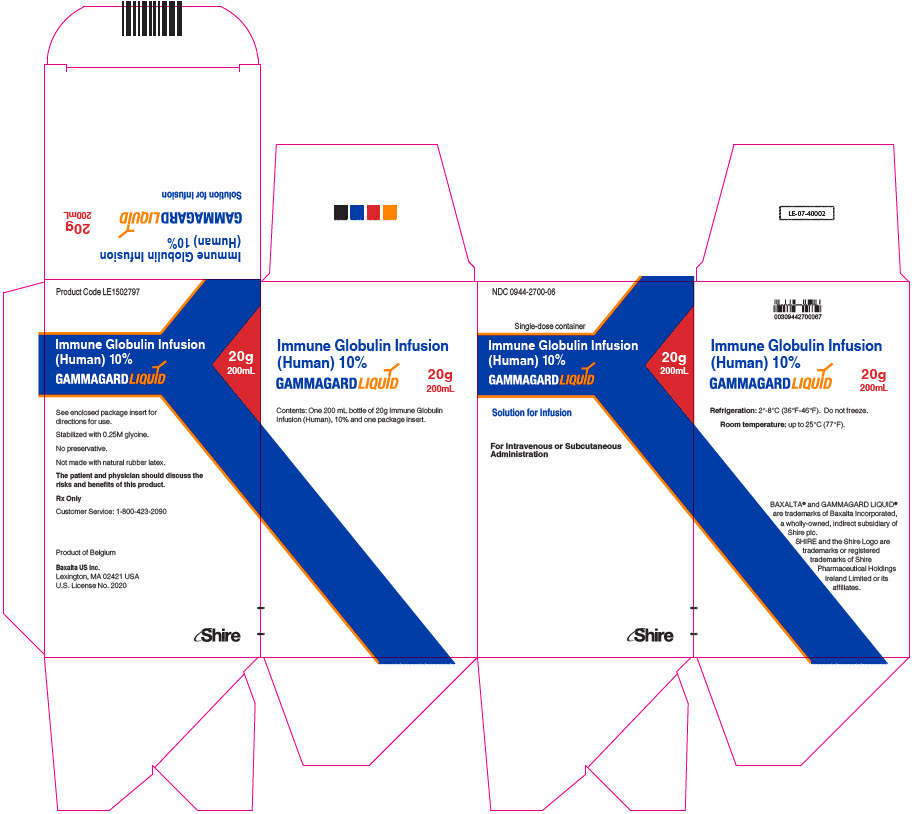
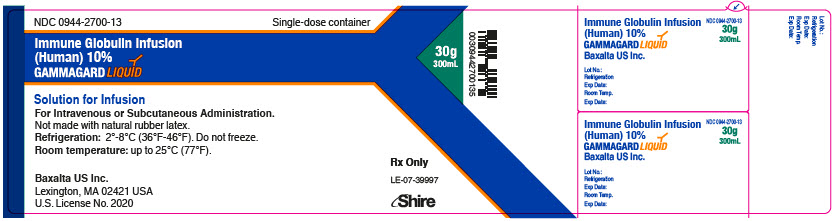
This is a description of a medical product called "Immune Globulin Infusion" which is a solution for infusion that is for Intravenous or Subcutaneous use. It is not made with natural rubber latex and is available in a single-dose container. It has an NDC number of 0944-2700-08 and is produced by Baxalta US Inc. It is Rx only i.e. it can be obtained with a prescription from a physician. No further information is available.*

gammagard 19

gammagard 19

gammagard 20

gammagard 20

This is a description of Immune Globulin Infusion (Human) 10% solution for infusion. It comes in a single-dose container and is not made with natural rubber latex. The brand name is GAMMAGARD and it is for intravenous or subcutaneous use. The manufacturer is Baxalta US Inc. located in Lexington, MA. It is a prescription-only medication and holds US License No.2020 under the name Shire.*

gammagard 21

gammagard 21

GAMMAGARD is a solution for immune globulin infusion containing 10% human globulin. It is used for the treatment of various immunodeficiency disorders. This product code is LETS00189. It is important for donors to understand the possible risks and benefits of this medication. Keep GAMMAGARD refrigerated at 2-8°C.*

gammagard 22

gammagard 22

This is a description of GAMMAGARD, a solution for infusion that is used for intravenous or subcutaneous administration. It is an immune globulin infusion that is not made with natural rubber latex. GAMMAGARD is stored in refrigeration at a temperature range of 2*-8°C (36°F-46°F). It should not be frozen and can be stored at room temperature up to 25°C (77°F). It comes in a single-dose container and is only available with a prescription (Rx Only). The manufacturer of GAMMAGARD is Baxalta US Inc. and its license number in the United States is 2020.*

gammagard 23

gammagard 23

This is a detailed information about a medical product called GAMMAGARD. It is a 10% Human Immune Globulin Infusion and comes with a package insert. The product has been stabilized with 0.25M glycine and contains no preservative or natural rubber flex. In order to use this product, the patient and physician must discuss the benefits and risks associated with it. It is important to store the solution for infusion between 2°C to 8°C (35°F to 46°F) and avoid freezing it. The administration of the product can be done intravenously or subcutaneously and is a trademark of Baxaltas and GAMMAGARD Liquid. The text also contains the address of the company responsible for the product.*

10g Vial Label - gammagard 24

10g Vial Label - gammagard 24

This is a description of a medication with the NDC 0944-2700-11 identifier. The medication is a solution for intravenous or subcutaneous administration and contains 10% human immune globulin infusion. The medicine is called GAMMAGARD and is not made with natural rubber laer. It is recommended to store the medicine refrigerated at 2°-8°C (36°F-46°F) and not to freeze. The medication can also be stored at room temperature which should not exceed 25°C (77°F).*

10g Unit Carton - gammagard 25

10g Unit Carton - gammagard 25

This is a description of a medical product - Immune Globulin Infusion (Human) 10% BER. The product comes in a 100 L bottle, and it is a solution for injection. The recommended storage temperature is between 10-25°C (77°F). The patient and physician are advised to discuss the benefits and risks associated with the product. There is a customer service number provided for inquiries.*

gammagard 26

gammagard 26

This is a description of a single-dose container of a solution for intravenous or subcutaneous administration called Immune Globulin Infusion 'GAMMAGARD' with a concentration of 10%. It is manufactured by Baxalta US Inc. and has a recommended storage temperature ranging from 2-8°C (36°F-46°F) and can be kept at room temperature up to 25°C (77°F). The product is licensed in the US under Shire.*

gammagard 27

gammagard 27

gammagard 28

gammagard 28

This is a description of a single-dose cortainer containing a solution for infusion called GAMMAGARD, immune globulin infusion (human) 10%. It is suitable for intravenous or subcutaneous administration and is not made with natural rubber latex. The solution should be kept refrigerated between 2-8°C and should not be frozen. It can also be kept at room temperature not exceeding 25°C. The manufacturer is Baxalia US Inc. located in Lexington, MA, and has a US License No. 2020. The product is labeled as Immune Globulin Infusion (Human) 10% EX GRMMAGARD/07.*

gammagard 29

gammagard 29

Remove the protective cap from the vial to expose the center of the vial. Wipe the stopper with an alcohol pad and allow to dry - image 01

Remove the protective cap from the vial to expose the center of the vial. Wipe the stopper with an alcohol pad and allow to dry - image 01

Attach a sterile syringe to a needle and draw air into the syringe barrel equal to the amount of product to be withdrawn. Inject the air into the vial and withdraw the desired volume of GAMMAGARD LIQUID. If multiple vials are required to achieve the desired dose, repeat this step. - image 02

Attach a sterile syringe to a needle and draw air into the syringe barrel equal to the amount of product to be withdrawn. Inject the air into the vial and withdraw the desired volume of GAMMAGARD LIQUID. If multiple vials are required to achieve the desired dose, repeat this step. - image 02

Select the number of infusion sites depending on the volume of the total dose. See administration for recommended maximum volumes and rates. Potential sites for infusion include the back of arms, abdomen, thighs, and lower back (see Figure below). Ensure sites are at least 2 inches apart; avoid bony prominences. - image 03

Select the number of infusion sites depending on the volume of the total dose.  See administration for recommended maximum volumes and rates. Potential sites for infusion include the back of arms, abdomen, thighs, and lower back (see Figure below).  Ensure sites are at least 2 inches apart; avoid bony prominences. - image 03

Cleanse the infusion site(s) with an antiseptic skin preparation (e.g., alcohol pad) using a circular motion working from the center of the site and moving to the outside. Allow to dry. - image 04

Cleanse the infusion site(s) with an antiseptic skin preparation (e.g., alcohol pad) using a circular motion working from the center of the site and moving to the outside. Allow to dry. - image 04

Choose the correct needle length to assure that GAMMAGARD LIQUID is delivered into the subcutaneous space. Grasp the skin and pinch at least one inch of skin between two fingers. Insert needle at a 90 degree angle with a darting motion into the subcutaneous tissue. Secure the needle. - image 05

Choose the correct needle length to assure that GAMMAGARD LIQUID is delivered into the subcutaneous space.  Grasp the skin and pinch at least one inch of skin between two fingers.   Insert needle at a 90 degree angle with a darting motion into the subcutaneous tissue.  Secure the needle. - image 05

Prior to the start of infusion, check each needle for correct placement to make sure that a blood vessel has not been punctured. Gently pull back on the attached syringe plunger and monitor for any blood return in the needle set. - image 06

Prior to the start of infusion, check each needle for correct placement to make sure that a blood vessel has not been punctured.  Gently pull back on the attached syringe plunger and monitor for any blood return in the needle set. - image 06

Secure the needle(s) in place by applying a sterile protective dressing over the site. - image 07

Secure the needle(s) in place by applying a sterile protective dressing over the site. - image 07

Clean a work area with an antibacterial cleaner and place all gathered items on the clean surface. Find a quiet work area with as few distractions as possible. - image 08

Clean a work area with an antibacterial cleaner and place all gathered items on the clean surface. Find a quiet work area with as few distractions as possible. - image 08

If GAMMAGARD LIQUID is received in a bag or syringe, skip to step 7. Remove the cap from the vial. Wipe the vial stopper with an alcohol swab and allow to air dry (at least 30 seconds). - image 09

If GAMMAGARD LIQUID is received in a bag or syringe, skip to step 7.  Remove the cap from the vial. Wipe the vial stopper with an alcohol swab and allow to air dry (at least 30 seconds). - image 09

Remove sterile syringe from package and attach to a sterile needle. Pull back on plunger of the syringe to fill it with air, which should equal the amount of liquid you will be taking from the vial. Insert needle into the center of the vial stopper. Inject air into the vial and withdraw GAMMAGARD LIQUID into the syringe. - image 10

Remove sterile syringe from package and attach to a sterile needle. Pull back on plunger of the syringe to fill it with air, which should equal the amount of liquid you will be taking from the vial. Insert needle into the center of the vial stopper. Inject air into the vial and withdraw GAMMAGARD LIQUID into the syringe. - image 10

If using a syringe driver pump, attach the syringe filled with GAMMAGARD LIQUID to the needle set. On a hard surface, gently push down on the plunger to fill (prime) the pump tubing up to the needle hub. This will ensure that no air is left in the tubing and needle . - image 11

If using a syringe driver pump, attach the syringe filled with GAMMAGARD LIQUID to the needle set. On a hard surface, gently push down on the plunger to fill (prime) the pump tubing up to the needle hub. This will ensure that no air is left in the tubing and needle . - image 11

Select the number of infusion sites based on the volume of the total dose. It is recommended that you not inject more than 20 mL for children and 30 mL for adults into each infusion site. - image 12

Select the number of infusion sites based on the volume of the total dose. It is recommended that you not inject more than 20 mL for children and 30 mL for adults into each infusion site. - image 12

Clean the infusion site(s) with an alcohol swab. Allow to dry (at least 30 seconds). - image 13

Clean the infusion site(s) with an alcohol swab. Allow to dry (at least 30 seconds). - image 13

Remove the needle cover. Firmly grasp skin and pinch at least one inch of skin between two fingers. Insert needle with a rapid motion straight into the skin at a 90 degree angle. Tape the needle in place. Repeat this step for each infusion site. - image 14

Remove the needle cover.  Firmly grasp skin and pinch at least one inch of skin between two fingers.   Insert needle with a rapid motion straight into the skin at a 90 degree angle.  Tape the needle in place. Repeat this step for each infusion site. - image 14

Before starting the infusion, check each needle for correct placement by gently pulling back on the attached syringe plunger and looking for any blood in the needle tubing. If you see any blood, remove and throw away the needle into the sharps container. Repeat filling (priming) and needle insertion steps in a different infusion site with a new needle. - image 15

Before starting the infusion, check each needle for correct placement by gently pulling back on the attached syringe plunger and looking for any blood in the needle tubing.  If you see any blood, remove and throw away the needle into the sharps container. Repeat filling (priming) and needle insertion steps in a different infusion site with a new needle. - image 15

Secure the needle(s) in place by putting a sterile clear bandage over the needle. - image 16

Secure the needle(s) in place by putting a sterile clear bandage over the needle. - image 16

After the infusion is complete, remove the needle set by pulling it straight out. Gently press a small piece of gauze over the needle site and cover with a protective dressing - image 17

After the infusion is complete, remove the needle set by pulling it straight out. Gently press a small piece of gauze over the needle site and cover with a protective dressing - image 17

* The product label images have been analyzed using a combination of traditional computing and machine learning techniques. It should be noted that the descriptions provided may not be entirely accurate as they are experimental in nature. Use the information in this page at your own discretion and risk.