Risperdal Consta Kit
Product Images NDC 50458-307

57 FDA label images from Janssen Pharmaceuticals, Inc. · Packaging, Regulatory Labels, and Product Appearance

Product Visual Gallery

This gallery contains 57 technical images submitted to the FDA as part of the official labeling for Risperdal Consta (NDC 50458-307). Unlike standard consumer photos, these assets often include clinical data figures, molecular chemical structures, and official manufacturer packaging layouts.

As provided by Janssen Pharmaceuticals, Inc., these visuals offer a comprehensive scientific overview of the product's physical and chemical identity, aiding pharmacists and researchers in product verification and study.

Product Images & Figures Index

FDA Label Image

Figure (Risperdal 01)
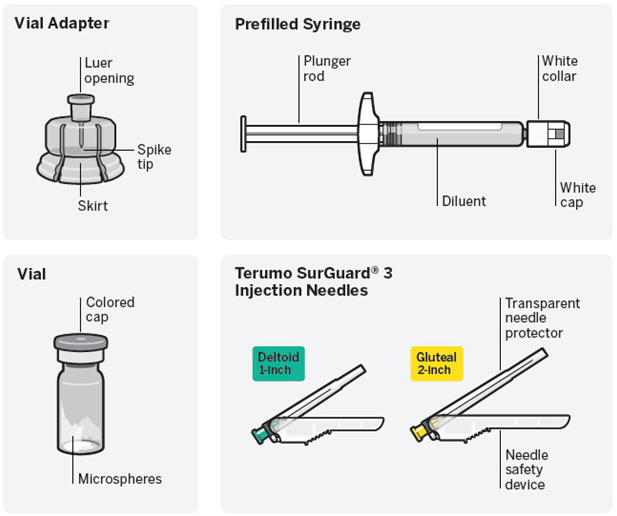
Figure (Risperdal 01)
Illustration showing components of the RISPERDAL CONSTA kit by Janssen Pharmaceuticals, Inc., including a vial adapter with Luer opening, spike tip, and skirt; a prefilled syringe with plunger rod, diluent, white collar, and cap; a vial containing microspheres with a colored cap; and two Terumo SurGuard 3 injection needles labeled for deltoid (1-inch) and gluteal (2-inch) use, featuring transparent needle protectors and needle safety devices.*
FDA Label Image

Figure (Risperdal 02)

Figure (Risperdal 02)
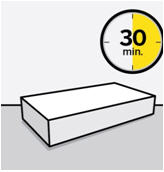
Illustration depicting a rectangular kit box with a clock icon showing 30 minutes, indicating a time-related instruction or waiting period associated with the RISPERDAL CONSTA kit by Janssen Pharmaceuticals, Inc.*
FDA Label Image

Figure (Risperdal 03)

Figure (Risperdal 03)
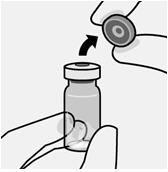
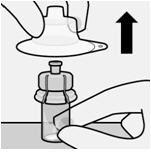
An instructional illustration showing how to remove the protective cap from a vial. A hand is holding the vial while another hand is lifting the cap upwards and away from the vial.*
FDA Label Image

Figure (Risperdal 04)

Figure (Risperdal 04)
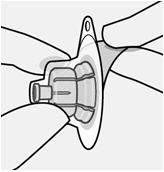
An instructional diagram showing the preparation of the RISPERDAL CONSTA kit for administration. It depicts a hand holding the prefilled syringe or vial, removing or assembling components as part of the medication preparation process for risperidone injection.*
FDA Label Image

Figure (Risperdal 05)

Figure (Risperdal 05)
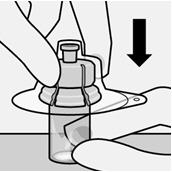
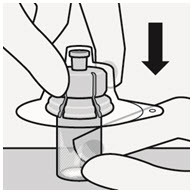
An instructional diagram illustrating the proper way to press down on the cap of a vial or syringe component. The image highlights hand placement and applies downward pressure, as indicated by a bold arrow pointing downwards. This is typically part of the preparation process for a medication kit such as RISPERDAL CONSTA.*
FDA Label Image

Figure (Risperdal 06)

Figure (Risperdal 06)
An instructional illustration showing a hand placing an ampule into a vial or bottle, demonstrating part of the preparation process for administration. This image is associated with RISPERDAL CONSTA, a risperidone kit by Janssen Pharmaceuticals, Inc.*
FDA Label Image

Figure (Risperdal 07)

Figure (Risperdal 07)
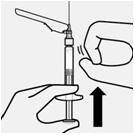
An instructional illustration showing a gloved hand holding a vial with a dropper or syringe above it, and an upward pointing arrow indicating an action to lift or pull upward. The image likely depicts a step in the preparation or handling of an injection kit.*
FDA Label Image

Figure (Risperdal 09)

Figure (Risperdal 09)
An illustration showing a hand holding a syringe. The image appears to demonstrate the proper way to hold or use the syringe, likely as part of administration instructions for the RISPERDAL CONSTA kit by Janssen Pharmaceuticals, Inc.*
FDA Label Image

Figure (Risperdal 11)

Figure (Risperdal 11)
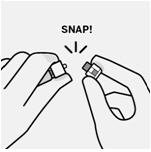
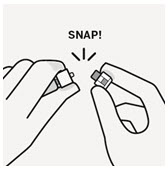
An instructional illustration showing hands snapping two parts of a device or container together, with the text 'SNAP!' above the image, indicating the action to snap the parts into place. The image is likely part of usage directions for RISPERDAL CONSTA kit by Janssen Pharmaceuticals, Inc.*
FDA Label Image

Figure (Risperdal 13)

Figure (Risperdal 13)
An instructional illustration showing the preparation of RISPERDAL CONSTA (risperidone) kit. The image depicts two hands holding a vial and a syringe; one hand pushes down on the syringe plunger while the other stabilizes the vial. An arrow indicates downward pressure, and a circular arrow suggests twisting motion, likely guiding medication withdrawal steps.*
FDA Label Image

Figure (Risperdal 08)

Figure (Risperdal 08)
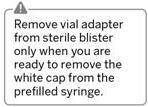
Text panel from RISPERDAL CONSTA kit with instructions to remove the vial adapter from the sterile blister only when ready to remove the white cap from the prefilled syringe.*
FDA Label Image

Figure (Risperdal 10)

Figure (Risperdal 10)
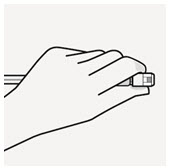
An instructional illustration showing a hand holding a RISPERDAL CONSTA injection kit component, likely demonstrating how to grasp or prepare the medication for administration. The image focuses on the positioning of the fingers on the kit part.*
FDA Label Image

Figure (Risperdal 12)

Figure (Risperdal 12)
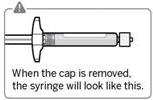
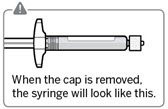
An instructional illustration showing a syringe from the RISPERDAL CONSTA kit with the cap removed, displaying the syringe's appearance without the cap. The image is part of the kit's usage instructions provided by Janssen Pharmaceuticals, Inc.*
FDA Label Image

Figure (Risperdal 14)

Figure (Risperdal 14)
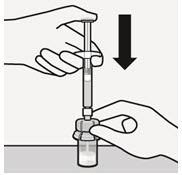
An instructional illustration showing a hand holding a syringe positioned above a vial, with an arrow pointing downward, indicating the syringe should be inserted into the vial. This graphic likely demonstrates the step of drawing medication from the vial as part of the preparation process for RISPERDAL CONSTA kit by Janssen Pharmaceuticals, Inc.*
FDA Label Image

Figure (Risperdal 16)

Figure (Risperdal 16)
An instructional illustration showing a hand holding a syringe with an arrow indicating a 10-second pause during injection. The image is related to the preparation or administration of RISPERDAL CONSTA, a risperidone kit by Janssen Pharmaceuticals, Inc.*
FDA Label Image

Figure (Risperdal 17)

Figure (Risperdal 17)
An instructional illustration showing hands preparing a syringe by attaching a vial, likely demonstrating how to assemble the RISPERDAL CONSTA injection kit before administration.*
FDA Label Image

Figure (Risperdal 18)

Figure (Risperdal 18)
An instructional illustration showing a hand holding a syringe with the needle covered, and another hand grasping a vial. An arrow indicates the vial should be twisted counterclockwise to open or prepare it for use. The image likely demonstrates part of the preparation process for administering a medication injection, such as a kit containing risperidone.*
FDA Label Image

Figure (Risperdal 15)

Figure (Risperdal 15)
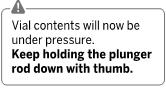
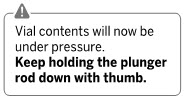
A textual warning panel instructing that vial contents will now be under pressure and advising to keep holding the plunger rod down with the thumb. The text emphasizes safety handling directions but does not specify product name or dosage.*
FDA Label Image

Figure (Risperdal 19)

Figure (Risperdal 19)
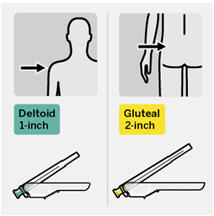
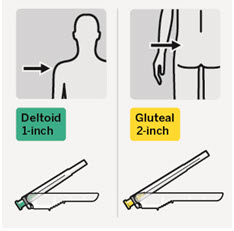
An instructional diagram showing two injection sites for RISPERDAL CONSTA kit. The left image indicates the deltoid muscle with a 1-inch needle, while the right image shows the gluteal muscle with a 2-inch needle. Each site is highlighted with corresponding needle length and color-coded labels.*
FDA Label Image

Figure (Risperdal 20)

Figure (Risperdal 20)
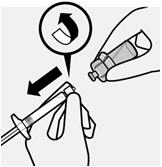
An instructional illustration showing hands holding a syringe and a vial or cartridge, demonstrating the process of removing a protective cap by twisting it off. This diagram is likely part of the preparation or administration instructions for RISPERDAL CONSTA kit, containing risperidone.*
FDA Label Image

Figure (Risperdal 21)

Figure (Risperdal 21)
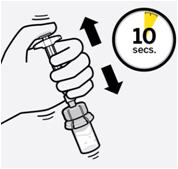
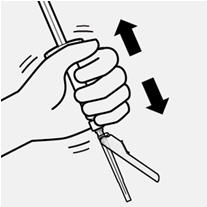
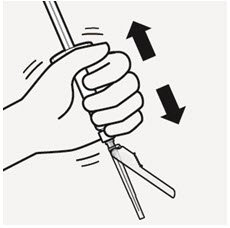
An instructional illustration showing a hand gripping a syringe with arrows indicating an up-and-down motion. This likely demonstrates the technique for mixing or preparing a medication dose in a kit format.*
FDA Label Image

Figure (Risperdal 22)

Figure (Risperdal 22)
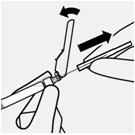
An instructional diagram illustrating the use of a medical device, showing a lever being pulled back and an arrow indicating the direction of insertion of a component. Likely related to the assembly or administration process for RISPERDAL CONSTA kit by Janssen Pharmaceuticals.*
FDA Label Image

Figure (Risperdal 23)

Figure (Risperdal 23)
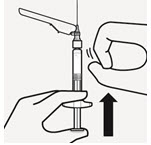
An instructional illustration showing two hands preparing an injection syringe. One hand holds the syringe, while the other hand pulls back on the syringe plunger, with an upward arrow indicating the direction of movement. The syringe has a cap attached, suggesting preparation steps for administering an injectable medication kit.*
FDA Label Image

Figure (Risperdal 24)

Figure (Risperdal 24)
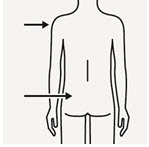
An instructional illustration showing a human figure from the front with two arrows indicating specific injection sites, one at the upper arm and another at the buttock area. This diagram likely demonstrates recommended injection locations for administering a medication kit.*
FDA Label Image

Figure (Risperdal 25)

Figure (Risperdal 25)
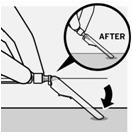
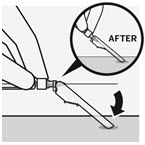
An instructional illustration showing a hand holding a vial and applying its contents onto a surface, with a close-up inset highlighting the application step labeled 'AFTER.' The image demonstrates part of the preparation or usage process for a dosage form, related to RISPERDAL CONSTA kit from Janssen Pharmaceuticals, Inc.*
FDA Label Image

Figure (Risperdal 26)

Figure (Risperdal 26)
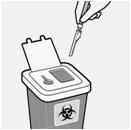
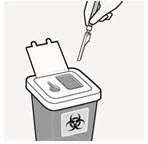
An instructional illustration showing a hand holding a syringe above an open sharps disposal container marked with a biohazard symbol. The image depicts safe needle disposal procedures.*
FDA Label Image

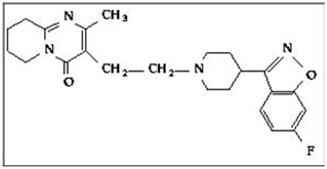
Chemical Structure (Risperdal 27)

Chemical Structure (Risperdal 27)
Chemical structure of risperidone, the active ingredient in RISPERDAL CONSTA, shown as a molecular diagram with labeled atoms and bonds.*
FDA Label Image

Figure (Risperdal 28)

Figure (Risperdal 28)
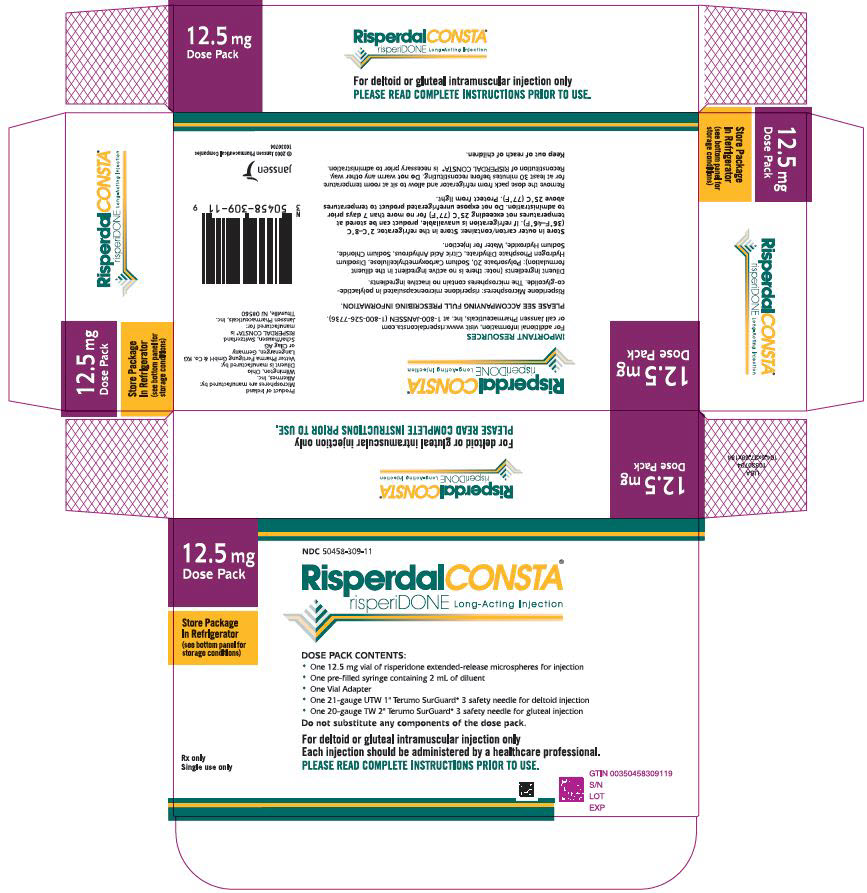
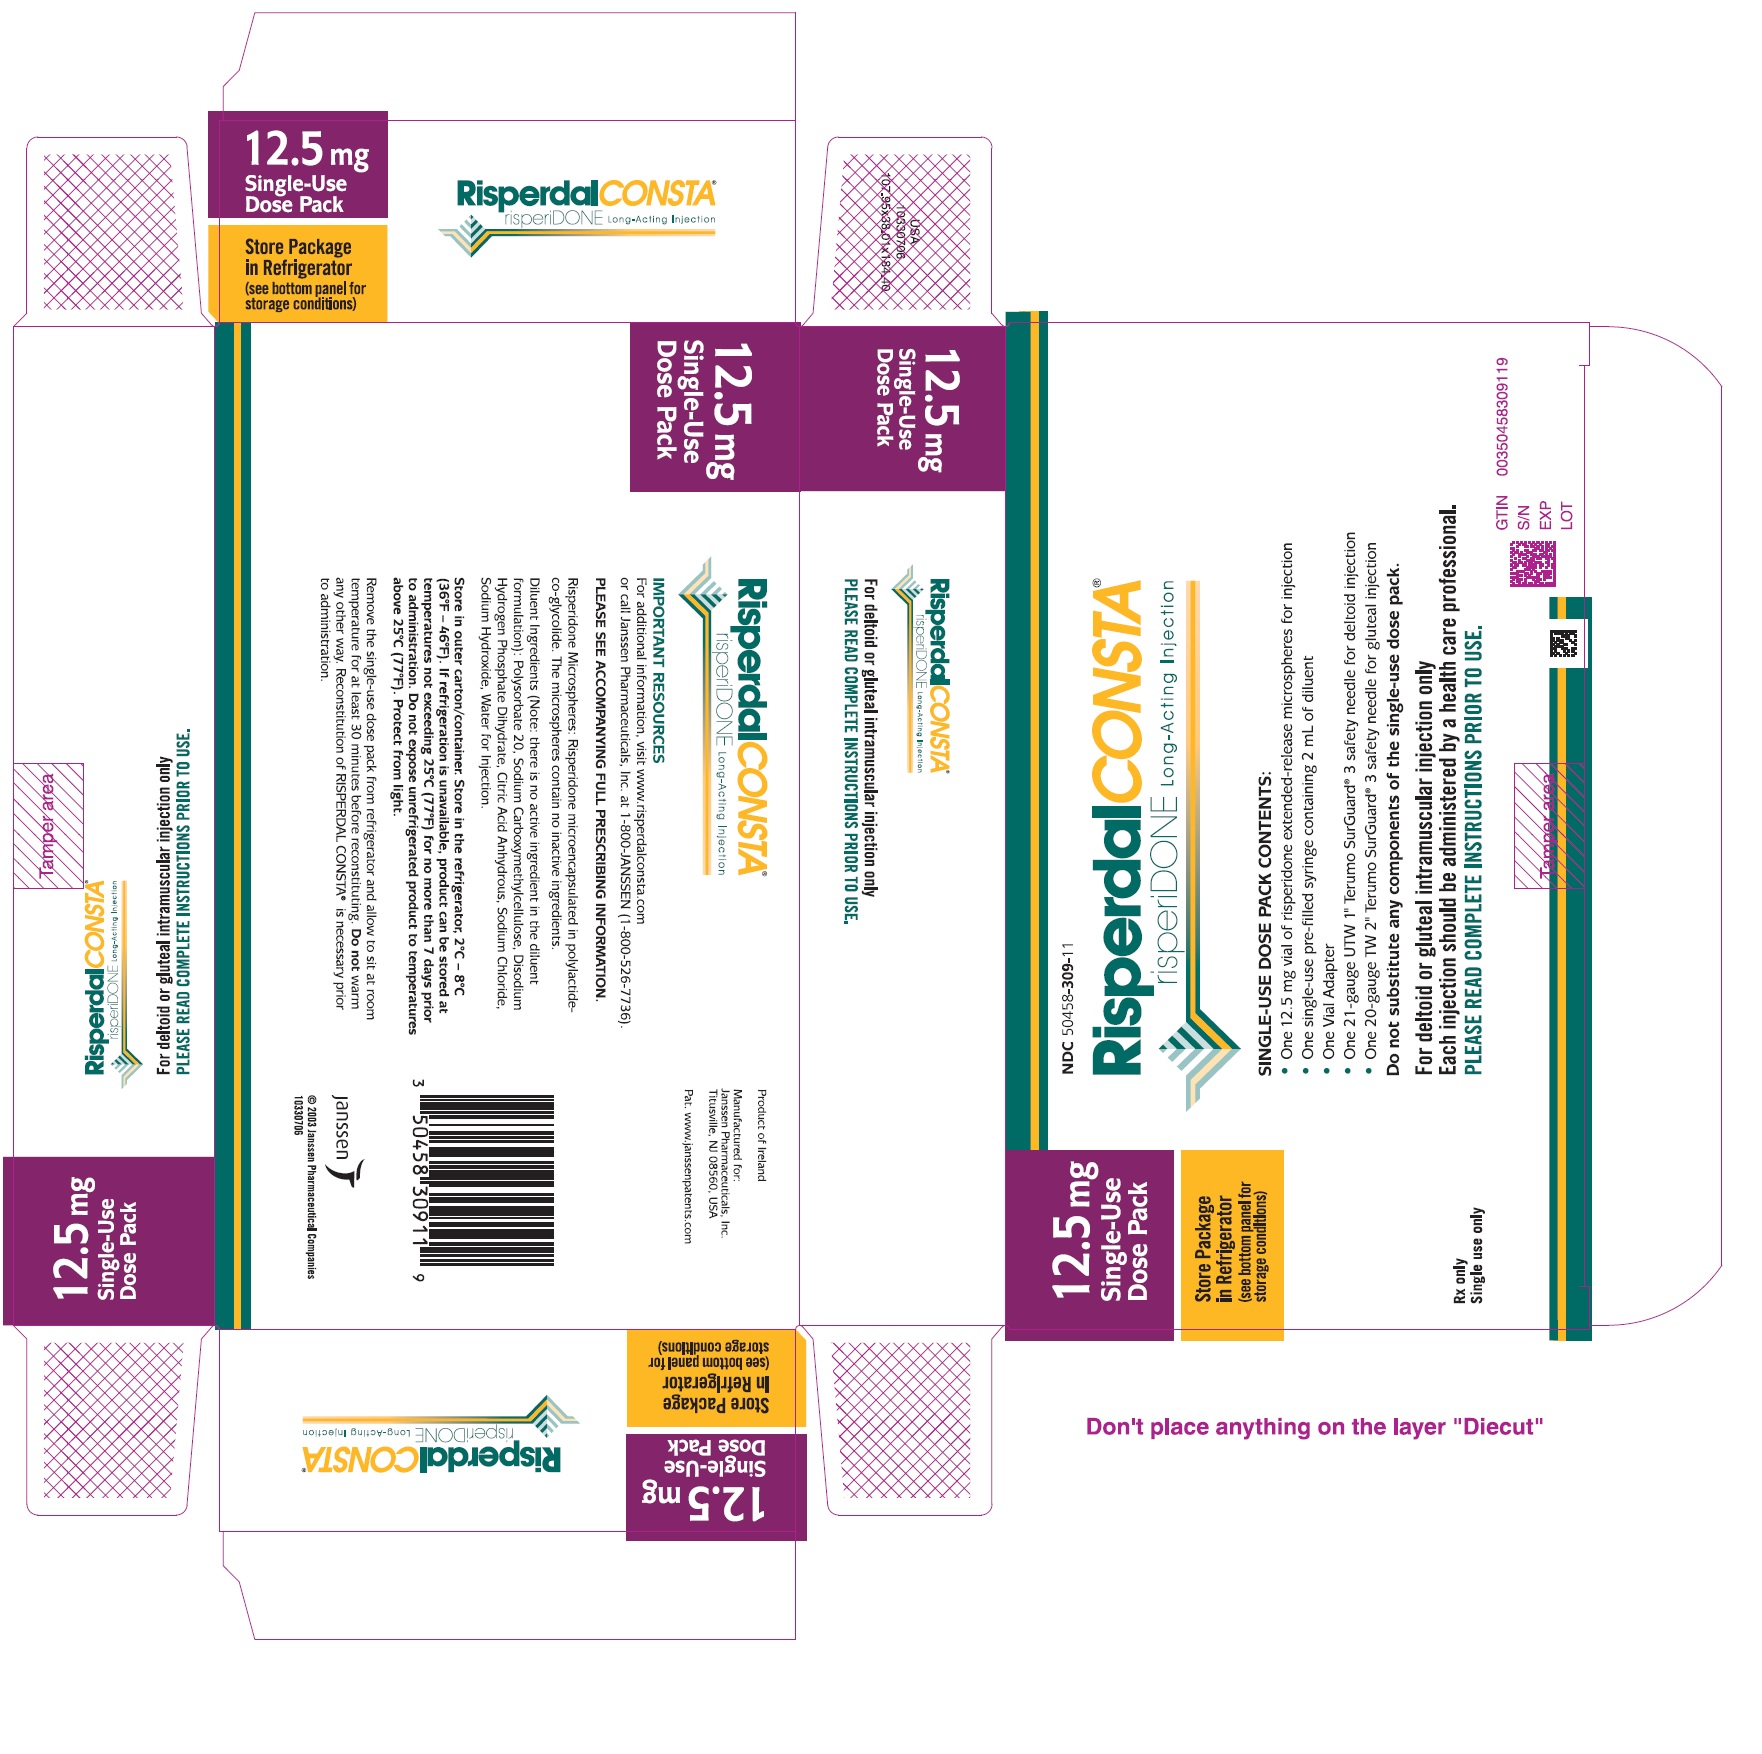
Risperdal Consta 12.5 mg dose pack kit by Janssen Pharmaceuticals, Inc. The label shows it contains risperidone long-acting injection microspheres for intramuscular use. The kit includes a vial of risperidone extended-release microspheres, a syringe with diluent, a vial adapter, and safety needles for deltoid and gluteal injections. Storage instructions advise refrigeration. The packaging highlights single-use and prescription status.*
FDA Label Image

Figure (Risperdal 29)

Figure (Risperdal 29)
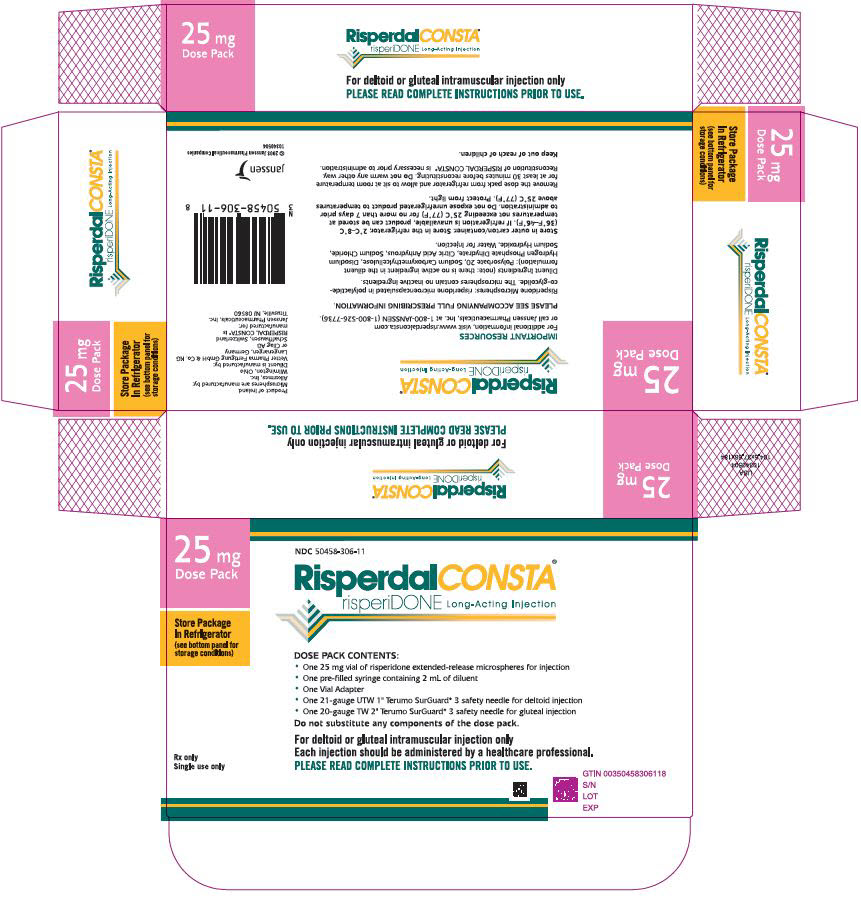
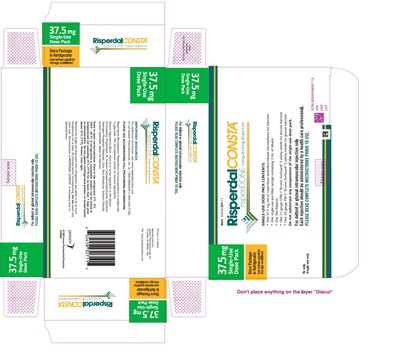
RISPERDAL CONSTA 25 mg Dose Pack by Janssen Pharmaceuticals, Inc. is shown in a flat carton layout. The kit contains risperidone extended-release microspheres for long-acting injection, including a vial, pre-filled syringe, vial adapter, and safety needles for deltoid or gluteal intramuscular injection. The packaging highlights storage in a refrigerator and instructions for healthcare professional administration.*
FDA Label Image

Figure (Risperdal 30)

Figure (Risperdal 30)
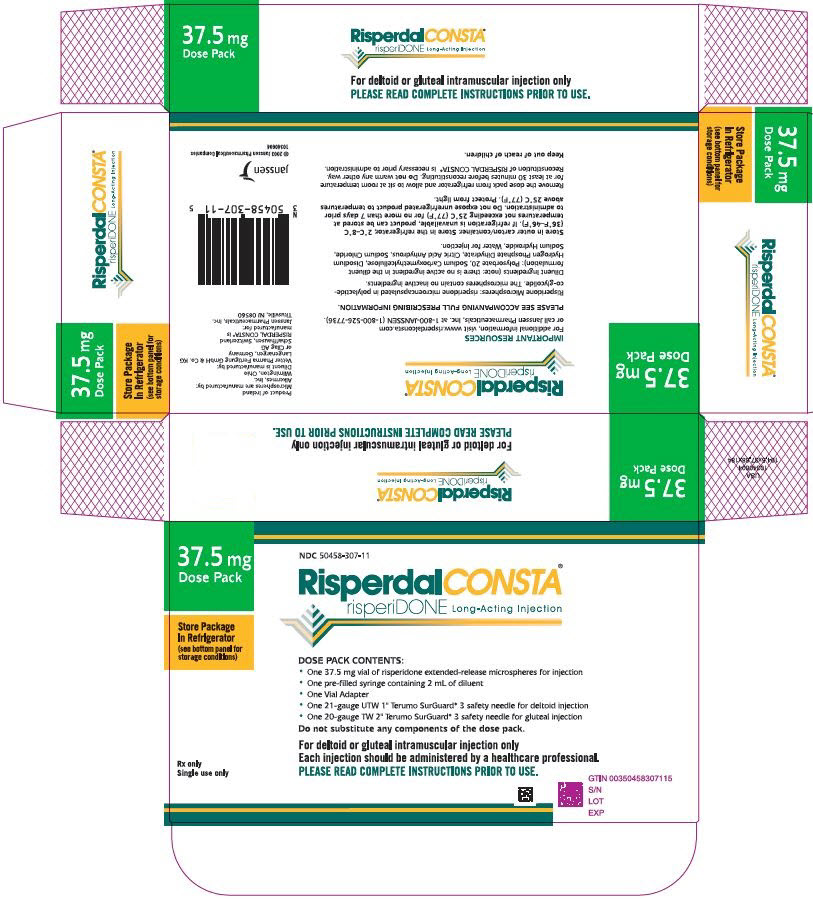
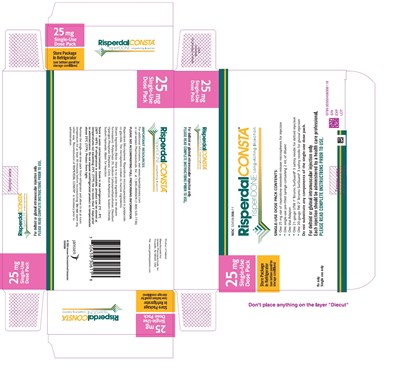
Risperdal CONSTA 37.5 mg Dose Pack kit packaging label for risperidone long-acting injection by Janssen Pharmaceuticals, Inc. The label states contents include one 37.5 mg vial of extended-release microspheres, a pre-filled syringe with diluent, vial adapter, and safety needles for intramuscular injection. It indicates storage instructions and usage directions for healthcare professionals.*
FDA Label Image

Figure (Risperdal 31)

Figure (Risperdal 31)
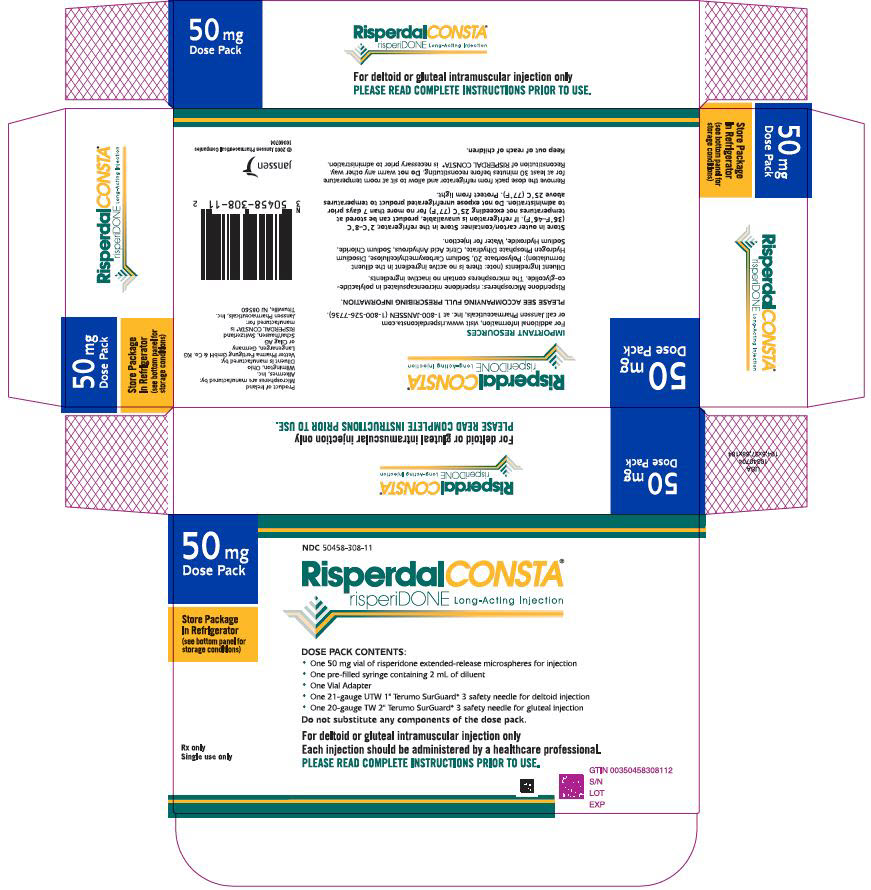
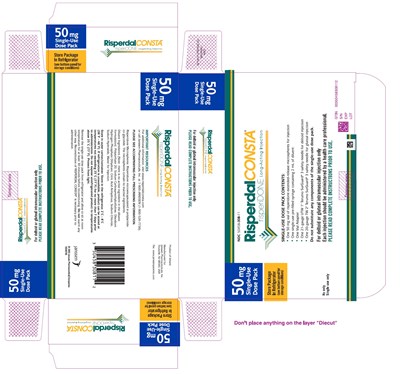
Flat packaging label for RISPERDAL CONSTA 50 mg Dose Pack by Janssen Pharmaceuticals, Inc., presenting a kit with risperidone long-acting injection. The label includes dosing instructions, kit contents such as a 50 mg vial, syringe, vial adapter, and safety needles, along with storage instructions to keep the package refrigerated. It is indicated for deltoid or gluteal intramuscular injection and notes that it is Rx only, single use.*
FDA Label Image

Figure (Risperdal 32)

Figure (Risperdal 32)
An instructional illustration depicting the preparation or use of an injection vial with a syringe. It shows a hand holding the vial and another hand with an arrow indicating downward pressure, suggesting attachment or drawing liquid from the vial. This image likely relates to the administration procedure of RISPERDAL CONSTA kit.*
FDA Label Image

Figure (Risperdal 33)

Figure (Risperdal 33)
An instructional illustration showing the proper way to insert or attach a component of the RISPERDAL CONSTA kit into a vial. The diagram focuses on positioning and alignment, possibly related to medication preparation or administration steps.*
FDA Label Image

Figure (Risperdal 34)

Figure (Risperdal 34)
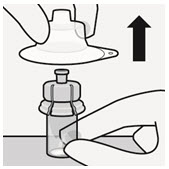
Illustration showing the steps to open a vial in a RISPERDAL CONSTA kit, featuring a hand removing a cap from a vial containing the injection product. An arrow indicates the direction to lift the cap.*
FDA Label Image

Figure (Risperdal 35)

Figure (Risperdal 35)
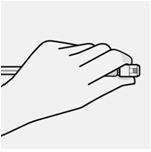
An instructional black-and-white line illustration showing a hand holding a small medical device or injection component, likely part of the RISPERDAL CONSTA kit, used for administration.*
FDA Label Image

Figure (Risperdal 36)

Figure (Risperdal 36)
An instructional illustration showing two hands snapping apart a small plastic or glass vial, emphasizing the action with the word 'SNAP!' above the hands. This diagram is likely part of preparation instructions for a medication kit.*
FDA Label Image

Figure (Risperdal 37)

Figure (Risperdal 37)
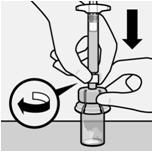
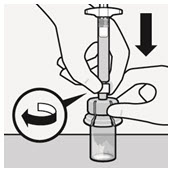
An instructional illustration showing how to attach a syringe to a vial. The image depicts one hand holding a vial and another hand pushing the syringe downward onto the vial while twisting it clockwise, as indicated by the arrow and circular motion symbol. This is likely part of preparation for administering RISPERDAL CONSTA kit.*
FDA Label Image

Figure (Risperdal 38)

Figure (Risperdal 38)
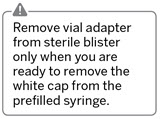
A text panel containing instructions for removing the vial adapter from the sterile blister, specifying to do so only when ready to remove the white cap from the prefilled syringe.*
FDA Label Image

Figure (Risperdal 39)

Figure (Risperdal 39)
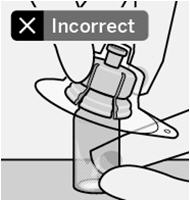
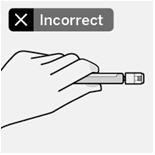
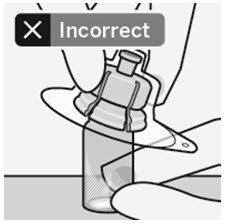
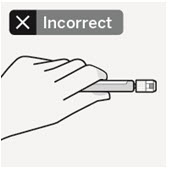
An instructional illustration showing a hand holding an object with the label 'Incorrect' at the top left, indicating an improper way to hold or use the item shown.*
FDA Label Image

Figure (Risperdal 40)

Figure (Risperdal 40)
An instructional diagram showing a syringe with a protective cap partially removed, revealing the syringe barrel and plunger. The illustration is accompanied by a note indicating that this is the appearance of the syringe after the cap is removed, intended for use with the RISPERDAL CONSTA kit by Janssen Pharmaceuticals, Inc.*
FDA Label Image

Figure (Risperdal 41)

Figure (Risperdal 41)
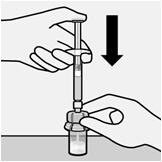
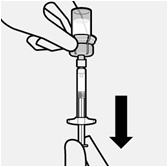
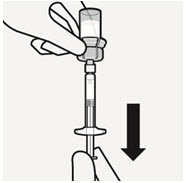
An instructional illustration showing a hand pushing down on the plunger of a syringe connected to a small vial, with an arrow indicating downward pressure. This likely depicts the step of drawing medication from the vial using the syringe, relevant to the RISPERDAL CONSTA kit by Janssen Pharmaceuticals, Inc.*
FDA Label Image

Figure (Risperdal 42)

Figure (Risperdal 42)
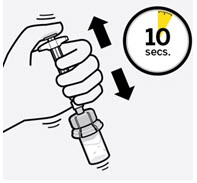
An instructional illustration showing hands performing an action on a medical kit device, with arrows indicating motion and a timer symbol displaying "10 secs." This likely depicts a step involving shaking or mixing within 10 seconds, related to RISPERDAL CONSTA kit usage.*
FDA Label Image

Figure (Risperdal 43)

Figure (Risperdal 43)
An instructional illustration showing a hand holding a vial upside down with a syringe inserted into the vial, and another hand holding the syringe. A large downward arrow indicates the direction for drawing liquid from the vial into the syringe.*
FDA Label Image

Figure (Risperdal 44)

Figure (Risperdal 44)
Instructional illustration showing the proper technique to mix or prepare a dose, likely involving shaking or pouring medication into a syringe. The image includes an arrow indicating a motion and a hand gripping the syringe.*
FDA Label Image

Figure (Risperdal 45)

Figure (Risperdal 45)
A warning label panel indicating that vial contents are under pressure and instructing to keep holding the plunger rod down with thumb. No specific drug information is shown in this image.*
FDA Label Image

Figure (Risperdal 46)

Figure (Risperdal 46)
Illustration showing injection site instructions for RISPERDAL CONSTA kit. The left panel indicates a 1-inch injection depth for the deltoid muscle of the upper arm, while the right panel indicates a 2-inch injection depth for the gluteal area of the buttock. Each panel includes a syringe depiction with corresponding color-coded markings.*
FDA Label Image

Figure (Risperdal 47)

Figure (Risperdal 47)
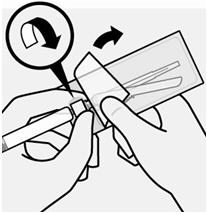
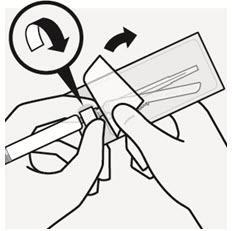
An instructional illustration showing hands opening a blister pack by peeling back the foil with an arrow indicating the direction to pull. The image likely demonstrates how to access the medication inside the packaging for RISPERDAL CONSTA risperidone kit.*
FDA Label Image

Figure (Risperdal 48)

Figure (Risperdal 48)
An instructional diagram showing a hand gripping a syringe and moving it with an up-and-down motion, indicated by two arrows, likely demonstrating proper technique for using the RISPERDAL CONSTA kit.*
FDA Label Image

Figure (Risperdal 49)

Figure (Risperdal 49)
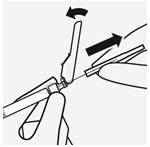
An instructional diagram showing how to remove or open a component of a device or kit by lifting a lever or cap upwards and pulling it away along a guided path. The image uses arrows to indicate the direction of movement for proper handling.*
FDA Label Image

Figure (Risperdal 50)

Figure (Risperdal 50)
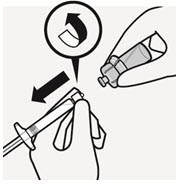
An instructional line drawing showing two hands preparing a syringe. One hand holds the syringe, while the other holds a small cap or cover above it. An upward pointing arrow indicates removal of the cap. This image appears to demonstrate the first step in preparing an injection for administration.*
FDA Label Image

Figure (Risperdal 51)

Figure (Risperdal 51)
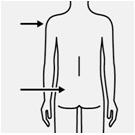
An illustration showing the back view of a human figure with arrows pointing to the upper arm and the buttock areas. The diagram indicates possible injection sites on the body.*
FDA Label Image

Figure (Risperdal 52)

Figure (Risperdal 52)
An instructional diagram showing how to prepare or assemble a component of the RISPERDAL CONSTA kit. The illustration highlights an action where a piece is inserted or connected, with a close-up inset labeled 'AFTER' showing the correct alignment or position after the step.*
FDA Label Image

Figure (Risperdal 53)

Figure (Risperdal 53)
An instructional illustration showing a hand holding a syringe above a biohazard sharps container with the lid open, ready for proper disposal of the syringe. The container is marked with a biohazard symbol indicating safe disposal of medical sharps.*
FDA Label Image

Risperdal 12.5mg (Risperdal Consta 12.5mg)

Risperdal 12.5mg (Risperdal Consta 12.5mg)
RISPERDAL CONSTA 12.5 mg single-use dose pack kit label for risperidone long-acting injection by Janssen Pharmaceuticals, Inc. The label includes storage instructions to keep the package in the refrigerator, highlights that it is for deltoid or gluteal intramuscular injection only, and lists single-use vial and syringe components included. It features the Janssen logo and barcode, emphasizing administration by healthcare professionals only.*
FDA Label Image

Risperdal 25mg (Risperdal Consta 25mg)

Risperdal 25mg (Risperdal Consta 25mg)
Box packaging label for RISPERDAL CONSTA 25 mg single-use dose pack kit. The label highlights storage instructions to keep the package refrigerated. The product is a long-acting injection of risperidone, labeled by Janssen Pharmaceuticals, Inc. The label includes NDC information, contents description, and manufacturer details, all printed mainly in white, pink, yellow, and teal colors.*
FDA Label Image

Risperdal 37.5mg (Risperdal Consta 37.5mg)

Risperdal 37.5mg (Risperdal Consta 37.5mg)
RISPERDAL CONSTA 37.5 mg single-use dose pack packaging label for risperidone long-acting injection kit. The label includes storage instructions to keep the package refrigerated. It is labeled for intramuscular injection use only and is manufactured by Janssen Pharmaceuticals, Inc. The label contains barcode and product information details.*
FDA Label Image

Risperdal 50mg (Risperdal Consta 50 mg)

Risperdal 50mg (Risperdal Consta 50 mg)
Packaging label for RISPERDAL CONSTA 50 mg single-use dose pack, a kit for intramuscular injection containing risperidone. The box emphasizes refrigeration storage and includes information on the contents and dosage. Labeler is Janssen Pharmaceuticals, Inc. The design features the product name and strength prominently with usage instructions and regulatory information on the sides.*

* About these descriptions: Image descriptions on this page are generated by automated AI analysis of the product label images from the manufacturer's FDA label submission (SPL). They are provided for reference only and may contain errors or omissions. Always rely on the printed label itself and the official FDA labeling, and consult a pharmacist or healthcare professional with any questions about this product.