Aranesp Solution
Product Images NDC 55513-003
Product Visual Gallery
This gallery contains 44 technical images submitted to the FDA as part of the official labeling for Aranesp (NDC 55513-003). Unlike standard consumer photos, these assets often include clinical data figures, molecular chemical structures, and official manufacturer packaging layouts.
As provided by Amgen, Inc, these visuals offer a comprehensive scientific overview of the product's physical and chemical identity, aiding pharmacists and researchers in product verification and study.
Product Images & Figures Index
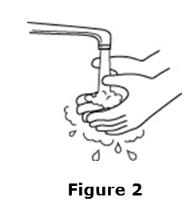
6. Wash Your Hands Well With Soap And Water Before Preparing The Medicine. See Figure 2. (Aranesp 04)
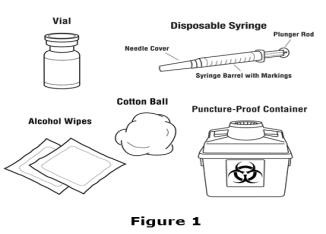
7. Flip Off The Protective Color Cap On The Top Of The Vial. Do Not Remove The Grey Rubber Stopper. Wipe The Top Of The Grey Rubber Stopper With An Alcohol Wipe. See Figures 3 And 4. (Aranesp 05)
9. Using A Syringe And Needle That Has Been Recommended By Your Healthcare Provider, Carefully Remove The Needle Cover. See Figure 5. Then Draw Air Into The Syringe By Pulling Back On The Plunger. The Amount Of Air Drawn Into The Syringe Should Be Equal To The Amount (ml Or Cc) Of The Aranesp Dose Prescribed By Your Healthcare Provider. See Figure 6. (Aranesp 06)
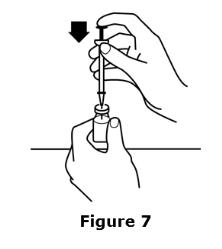
11. Push The Plunger Of The Syringe Down To Inject The Air From The Syringe Into The Vial Of Aranesp. The Air Injected Into The Vial Will Allow Aranesp To Be Easily Withdrawn Into The Syringe. See Figure 7. (Aranesp 07)
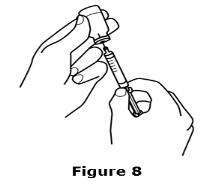
12. Keep The Needle Inside The Vial. Turn The Vial And Syringe Upside Down. Be Sure The Tip Of The Needle Is In The Aranesp Liquid. Keep The Vial Upside Down. Slowly Pull Back On The Plunger To Fill The Syringe With Aranesp Liquid To The Number (ml Or Cc) That Matches The Dose Your Healthcare Provider Prescribed. See Figure 8. (Aranesp 08)
13. Keep The Needle In The Vial. Check For Air Bubbles In The Syringe. A Small Amount Of Air Is Harmless. Too Large An Air Bubble Will Give You The Wrong Aranesp Dose. To Remove Air Bubbles, Gently Tap The Syringe With Your Fingers Until The Air Bubbles Rise To The Top Of The Syringe. Slowly Push The Plunger Up To Force The Air Bubbles Out Of The Syringe. Keep The Tip Of The Needle In The Aranesp Liquid. Pull The Plunger Back To The Number On The Syringe That Matches Your Dose. Check Again For Air Bubbles. If There Are Still Air Bubbles, Repeat The Steps Above To Remove Them. See Figures 9 And 10. (Aranesp 09)
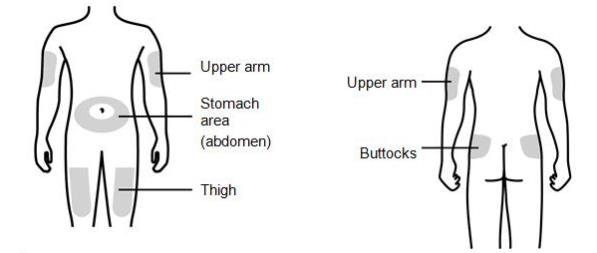
• Do Not Inject Aranesp Into An Area That Is Tender, Red, Bruised, Hard, Or Has Scars Or Stretch Marks. Recommended Sites For Injection Are Shown In Figure 11 Below, Including: ° The Outer Area Of The Upper Arms ° The Abdomen (except For The 2-inch Area Around The Navel) ° The Front Of The Middle Thighs° The Upper Outer Area Of The Buttocks (Aranesp 0a)
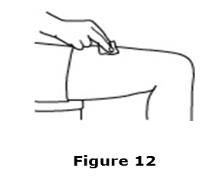
Clean The Skin With An Alcohol Wipe Where The Injection Is To Be Made. Be Careful Not To Touch The Skin That Has Been Wiped Clean. See Figure 12. (Aranesp 0b)
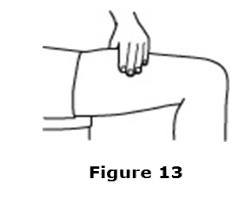
Use The Other Hand To Pinch A Fold Of Skin At The Cleaned Injection Site. Do Not Touch The Cleaned Area Of Skin. See Figure 13. (Aranesp 0c)
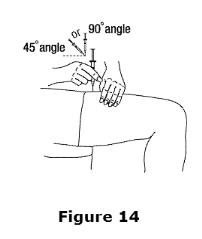
Hold The Syringe Like You Would Hold A Pencil. Use A Quick “dart-like” Motion To Insert The Needle Either Straight Up And Down (90-degree Angle) Or At A Slight Angle (45 Degrees) Into The Skin. Inject The Prescribed Dose Subcutaneously As Directed By Your Doctor, Nurse, Or Pharmacist. See Figure 14. (Aranesp 0d)
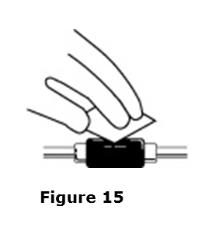
Wipe Off The Venous Port Of The Hemodialysis Tubing With An Alcohol Wipe. See Figure 15. (Aranesp 0e)
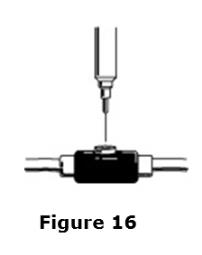
• Insert The Needle Of The Syringe Into The Cleaned Venous Port And Push The Plunger All The Way Down To Inject All The Aranesp. See Figure 16. (Aranesp 0f)
Before Use And After Use (Aranesp 11)
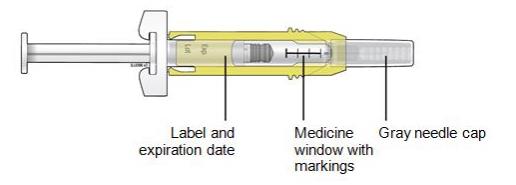
Open The Package And Remove The Syringe From The Tray. Grab The Yellow Safety Guard To Remove The Prefilled Syringe From The Tray. (Aranesp 12)
B Inspect The Medicine And Prefilled Syringe. (Aranesp 13)
C Gather All Materials Needed For Your Injection. (Aranesp 14)
D Prepare And Clean Your Injection Site(s). (Aranesp 15)
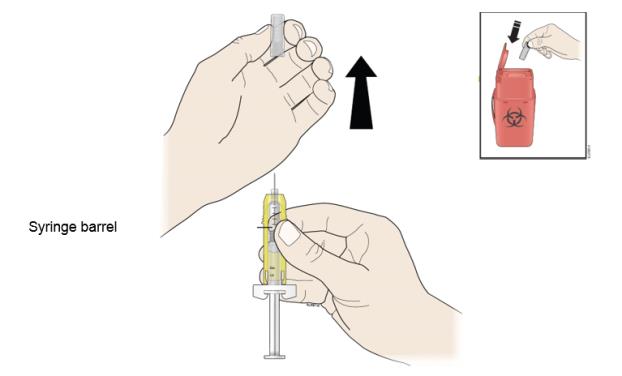
E Hold The Prefilled Syringe By The Syringe Barrel. Carefully Pull The Gray Needle Cap Straight Off And Away From Your Body. (Aranesp 16)
Check Your Prescription Before You Inject Your Dose. (Aranesp 17)
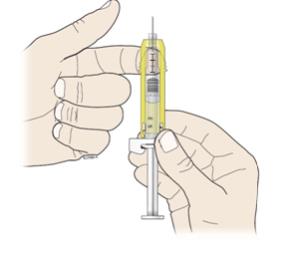
G Point The Needle Up And Tap Gently Until The Air Rises To The Top. (Aranesp 18)
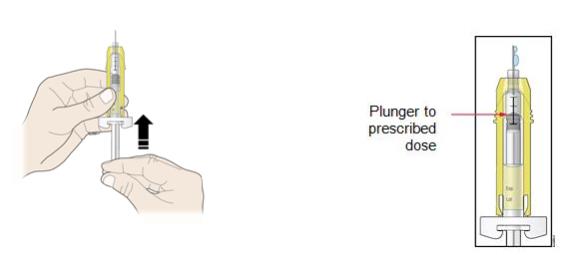
H Slowly Push The Plunger Rod Up To The Line On The Syringe Barrel That Matches Your Prescribed Dose. (Aranesp 19)
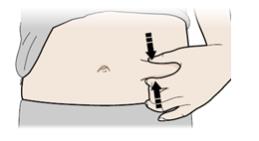
I Pinch Your Injection Site To Create A Firm Surface. (Aranesp 1a)
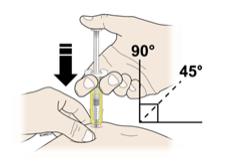
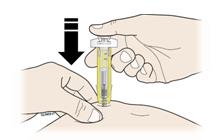
J Hold The Pinch. Insert The Needle Into The Skin At 45 To 90 Degrees. (Aranesp 1b)
When Done, Gently Pull The Syringe Off Of Your Skin, And Continue To Step 4: Finish. (Aranesp 1c)
Or (Aranesp 1d)
Before You Finish (Aranesp 1e)
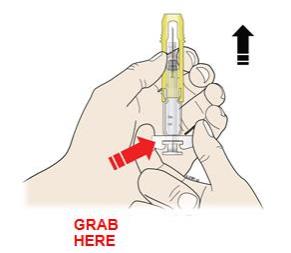
For Your Safety, Pull The Yellow Safety Guard Until It Clicks And Covers The Needle. (Aranesp 1f)
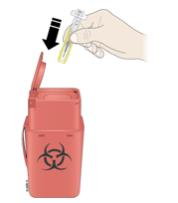
M Discard (throw Away) The Used Prefilled Syringe. (Aranesp 20)
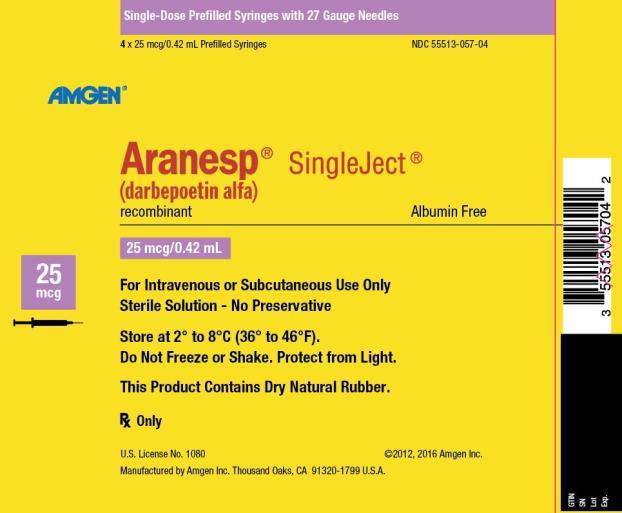
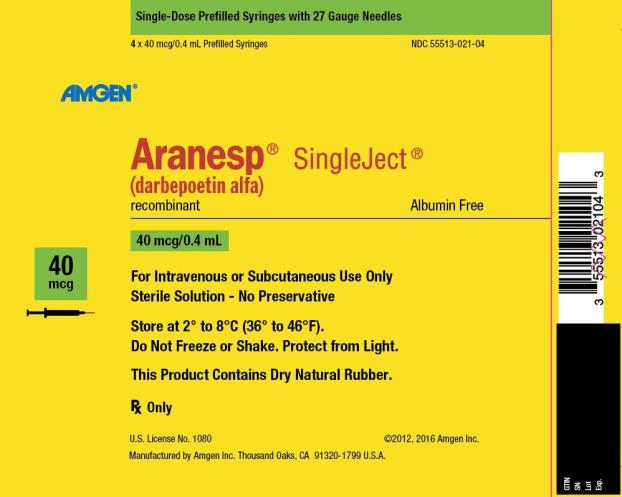
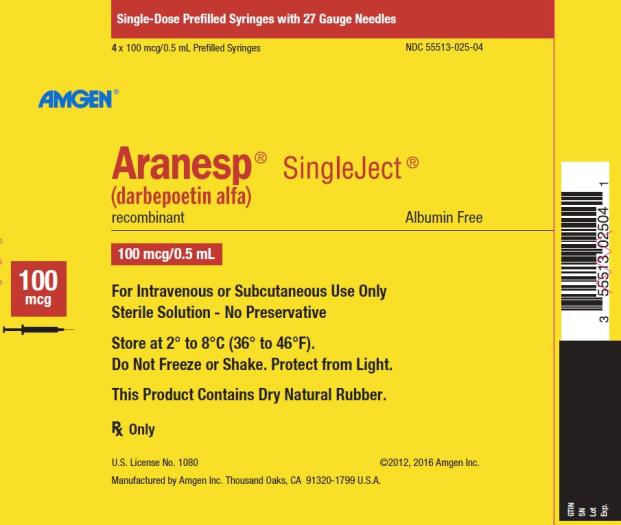
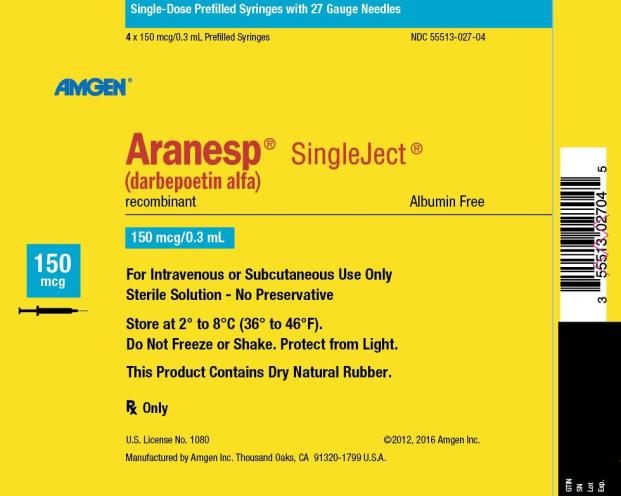
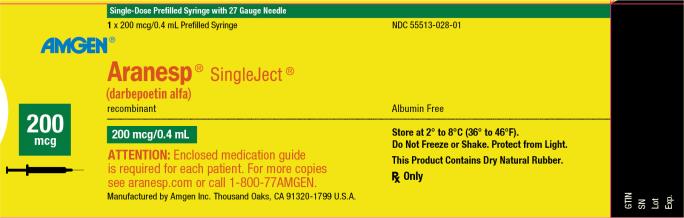
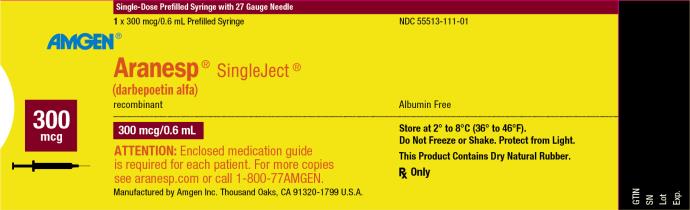
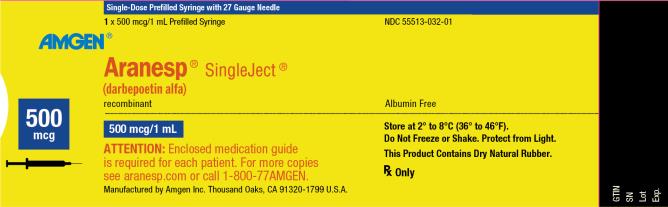
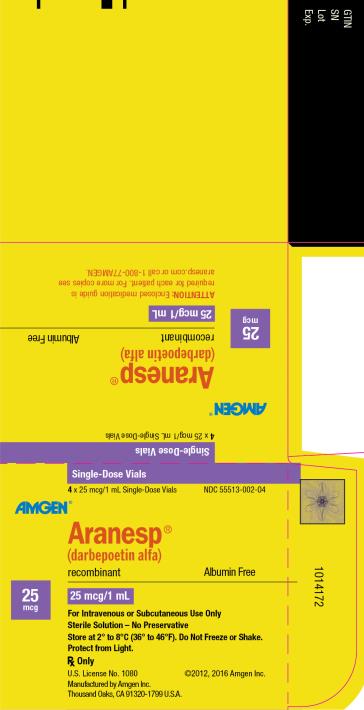
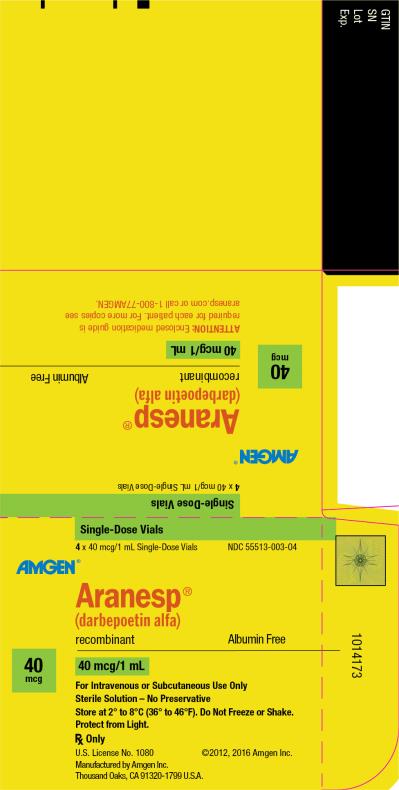
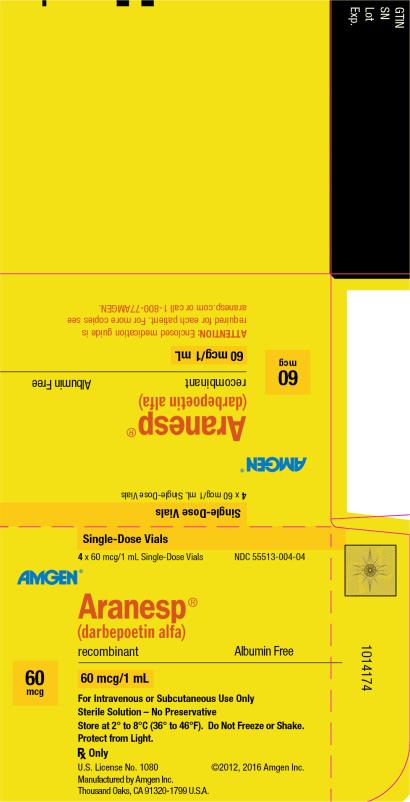
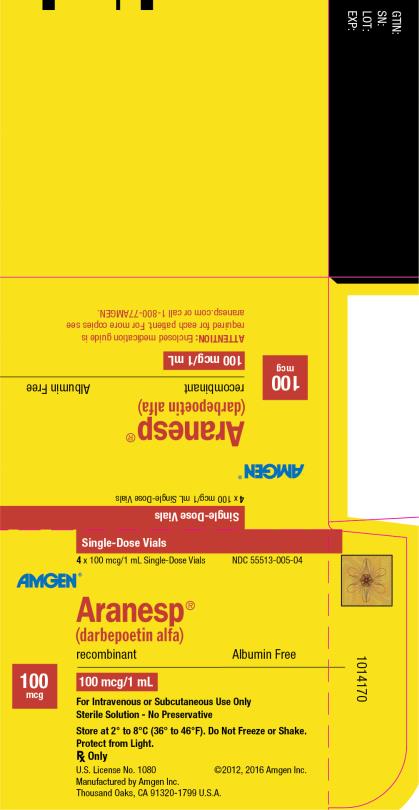
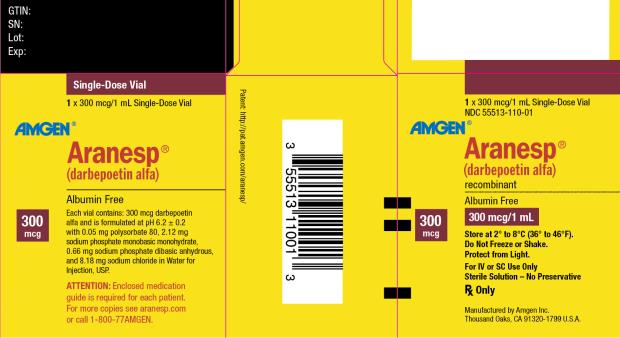
Package Label (PRINCIPAL DISPLAY PANEL)
* About these descriptions: Image descriptions on this page are generated by automated AI analysis of the product label images from the manufacturer's FDA label submission (SPL). They are provided for reference only and may contain errors or omissions. Always rely on the printed label itself and the official FDA labeling, and consult a pharmacist or healthcare professional with any questions about this product.