Udenyca Injection, Solution
Product Images NDC 69448-026
Product Visual Gallery
This gallery contains 100 technical images submitted to the FDA as part of the official labeling for Udenyca (NDC 69448-026). Unlike standard consumer photos, these assets often include clinical data figures, molecular chemical structures, and official manufacturer packaging layouts.
As provided by Accord Biopharma, Inc., these visuals offer a comprehensive scientific overview of the product's physical and chemical identity, aiding pharmacists and researchers in product verification and study.
Product Images & Figures Index
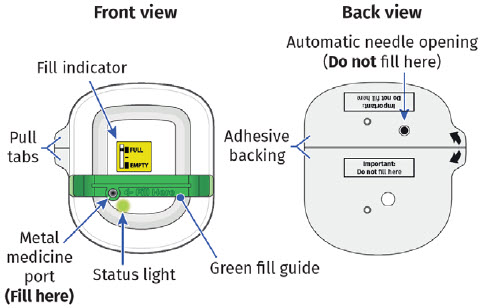
Image 2 (UDENYCA ONBODY injector)
Image 3 (UDENYCA ONBODY injector)
Image 4 (UDENYCA ONBODY injector)
Image 5 (UDENYCA ONBODY injector)
Image 6 (UDENYCA ONBODY injector)
Image 7 (UDENYCA ONBODY injector)
Image 8 (UDENYCA ONBODY injector)
Image 9 (UDENYCA ONBODY injector)
Image 10 (UDENYCA ONBODY injector)
Image 11 (UDENYCA ONBODY injector)
Image 12 (UDENYCA ONBODY injector)
Image 13 (UDENYCA ONBODY injector)
Image 14 (UDENYCA ONBODY injector)
Image 15 (UDENYCA ONBODY injector)
Image 16 (UDENYCA ONBODY injector)
Image 17 (UDENYCA ONBODY injector)
Image 18 (UDENYCA ONBODY injector)
Image 19 (UDENYCA ONBODY injector)
Image 20 (UDENYCA ONBODY injector)
Image 21 (UDENYCA ONBODY injector)
Image 1 (UDENYCA ONBODY injector)
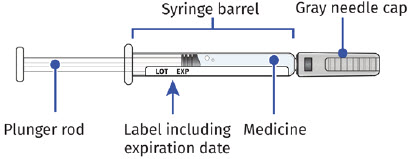
Image 2 (UDENYCA ONBODY injector)
Image 3 (UDENYCA ONBODY injector)
Image 4 (UDENYCA ONBODY injector)
Image 5 (UDENYCA ONBODY injector)
Iimage 6 (UDENYCA ONBODY injector)
Image 7 (UDENYCA ONBODY injector)
Image 8 (UDENYCA ONBODY injector)
Image 9 (UDENYCA ONBODY injector)
Image 10 (UDENYCA ONBODY injector)
Image 11 (UDENYCA ONBODY injector)
Image 12 (UDENYCA ONBODY injector)
Image 13 (UDENYCA ONBODY injector)
Image 14 (UDENYCA ONBODY injector)
Image 15 (UDENYCA ONBODY injector)
Image 16 (UDENYCA ONBODY injector)
Image 17 (UDENYCA ONBODY injector)
Image 18 (UDENYCA ONBODY injector)
Image 1 (UDENYCA ONBODY injector)
Image 2 (UDENYCA ONBODY injector)
Image 3 (UDENYCA ONBODY injector)
Image 4 (UDENYCA ONBODY injector)
Image 6 (UDENYCA ONBODY injector)
Image 7 (UDENYCA ONBODY injector)
Image 8 (UDENYCA ONBODY injector)
Image 9 (UDENYCA ONBODY injector)
Image 10 (UDENYCA ONBODY injector)
Image 11 (UDENYCA ONBODY injector)
Image 12 (UDENYCA ONBODY injector)
Image 13 (UDENYCA ONBODY injector)
Image 14 (UDENYCA ONBODY injector)
Image 15 (UDENYCA ONBODY injector)
Image 16 (UDENYCA ONBODY injector)
Image 17 (UDENYCA ONBODY injector)
Image 18 (UDENYCA ONBODY injector)
Image 19 (UDENYCA ONBODY injector)
Image 20 (UDENYCA ONBODY injector)
Image 21 (UDENYCA ONBODY injector)
Image 22 (UDENYCA ONBODY injector)
Image 23 (UDENYCA ONBODY injector)
Image A (UDENYCA ONBODY injector)
Image B (UDENYCA ONBODY injector)
Image C (UDENYCA ONBODY injector)
Logo (Logo)
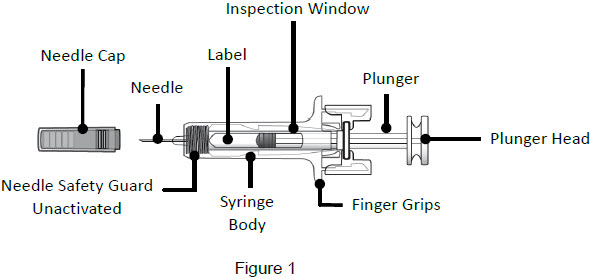
Image Of Udenyca Before Use (Udenyca 01)
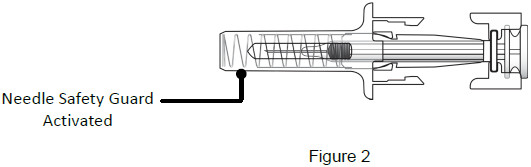
Image Of Udenyca After Use (Udenyca 02)
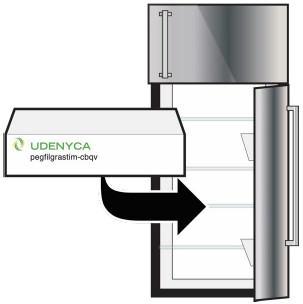
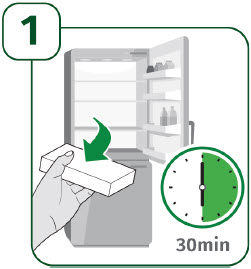
Image Of Storage (instructions for use)
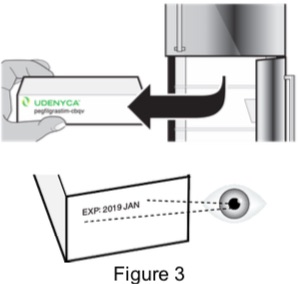
Image Of Removal From Storage (instructions for use)
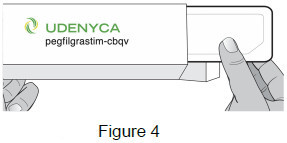
Image Of Opening Udenyca (instructions for use)
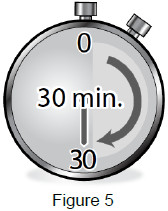
Image Of Time To Reach Room Temp (instructions for use)
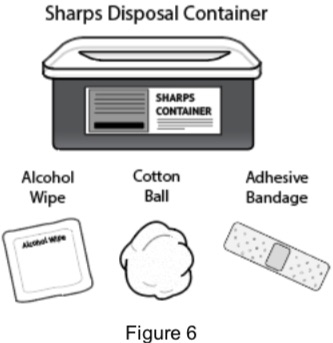
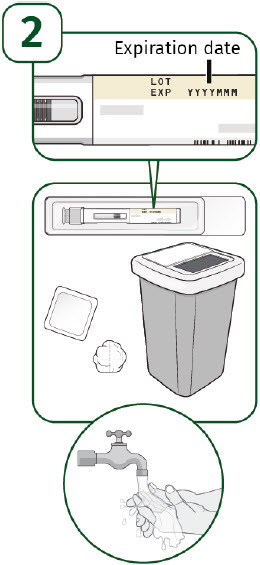
Image Of Gathering Supplies (instructions for use)
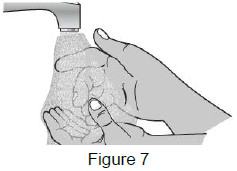
Image Of Proper Hand Washing (instructions for use)
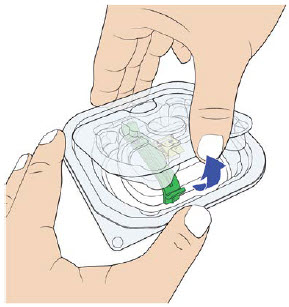
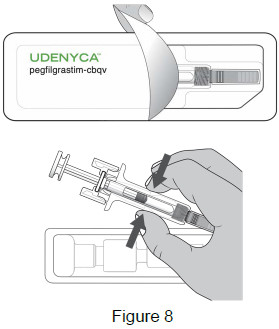
Image Of Removal Of Udenyca From Tray (instructions of use)
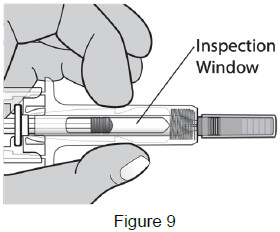
Image Of Visual Inspection (instructions for use)
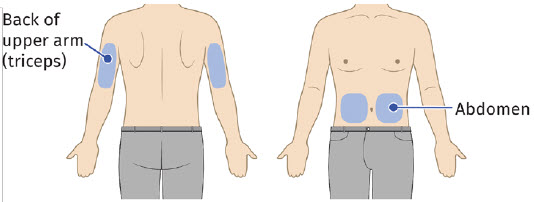
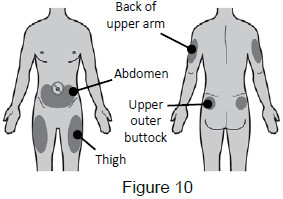
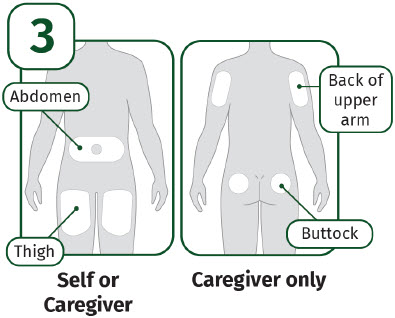
Image Of Injection Site Selection (instructions for use)
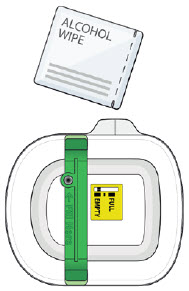
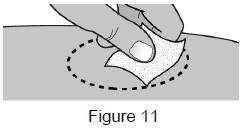
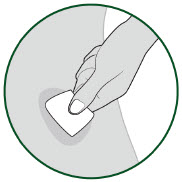
Image Of Cleaning Injection Site (instructions for use)
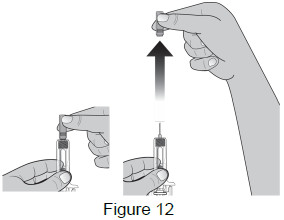
Image Of Removal Of Needle Cap (instructions for use)
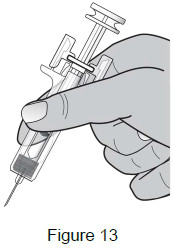
Image Of Position Of Fingers (instructions for use)
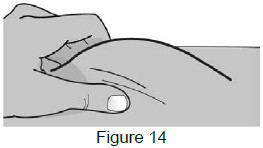
Image Of Pinching Skin Of Injection Site (instructions for use)
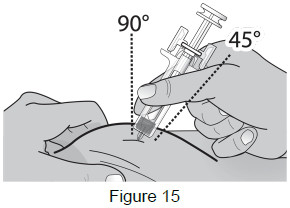
Image Of Proper Needle Insertion (instructions for use)
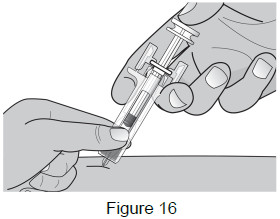
Image Of Injection Finger Positioning (instructions for use)
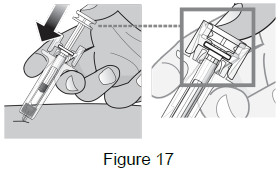
Image Of Plunger Push (instructions for use)
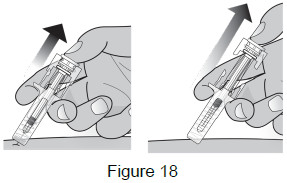
Image Of Needle Retraction (instructions for use)
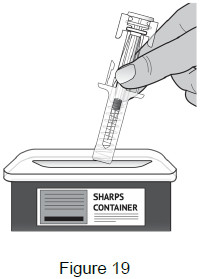
Image Of Disposal (instructions for use)
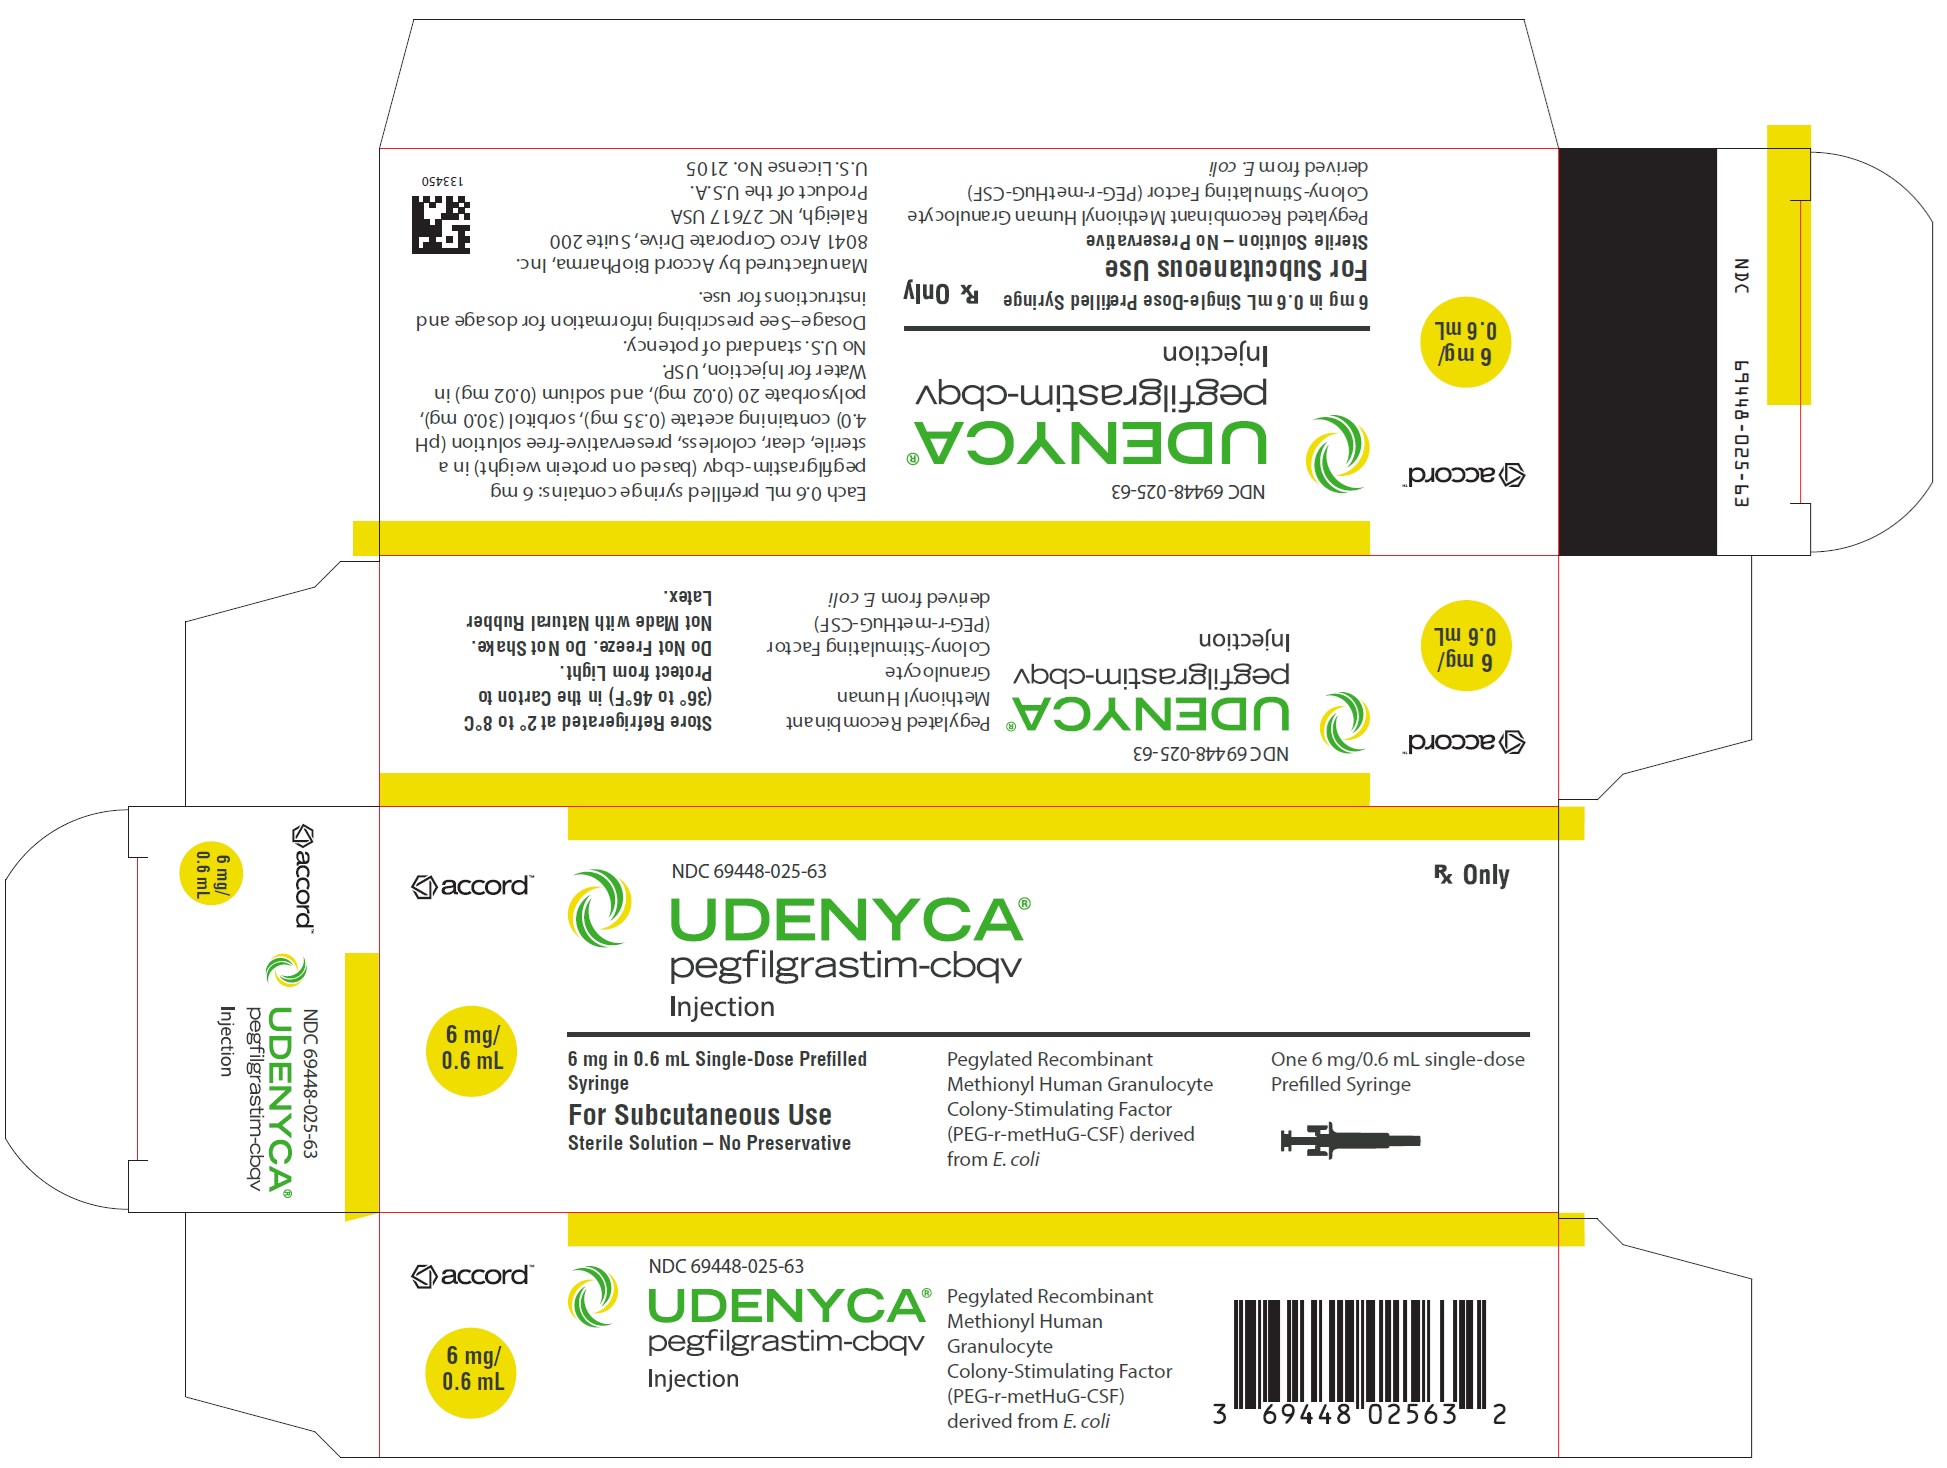
Image Of Carton Label (principal panel)
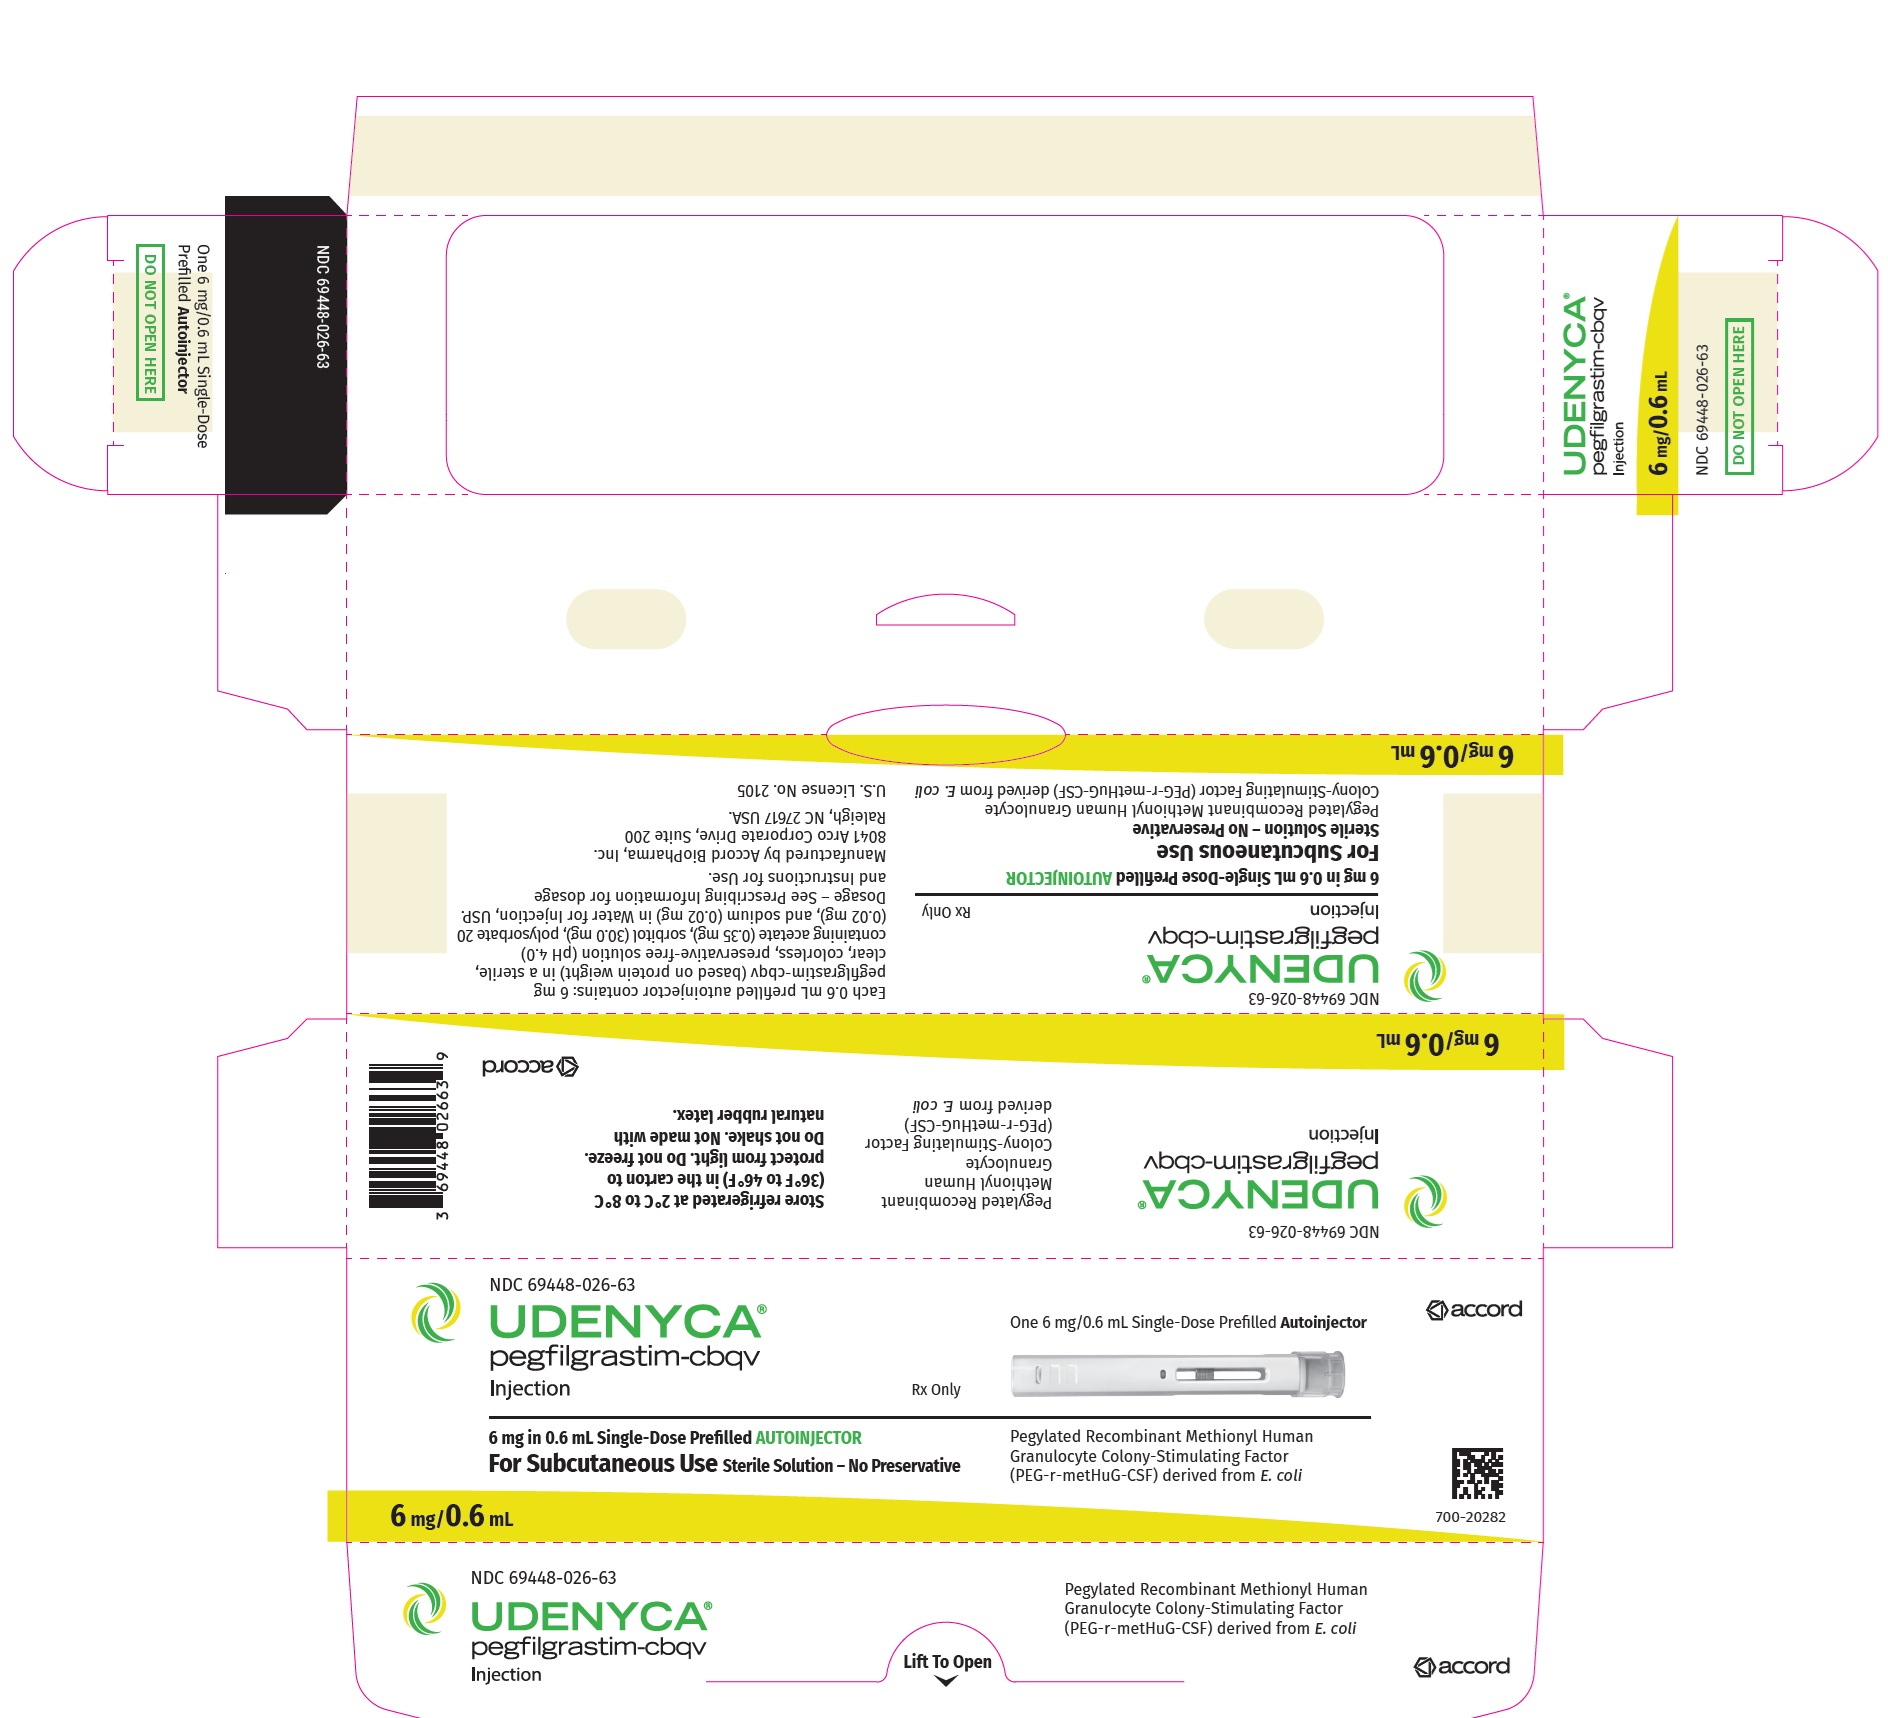
Image Of Ai Carton Label (principal panel)
Image Of Removing Udenyca From Refrigeration (AI instructions for use)
Image Of Udenyca Autoinjector Status, Sharps Container And Hand Washing (AI instructions for use)
Image Of Choosing Injection Site (AI instructions for use)
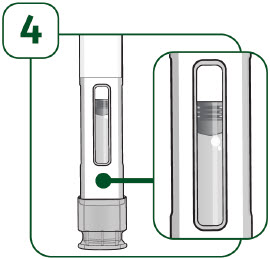
Image Of Checking Veiwing Window (AI instructions for use)
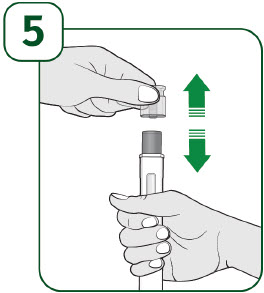
Image Of Of Removing The Cap Of The Autoinjector (AI instructions for use)
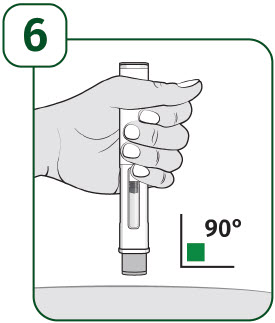
Image Of Of How To Properly Hold The Autoinjector (AI instructions for use)
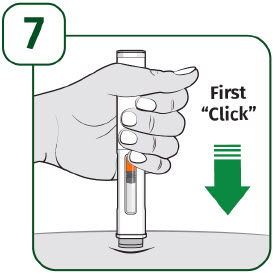
Image Of Press And First Click (AI instructions of use)
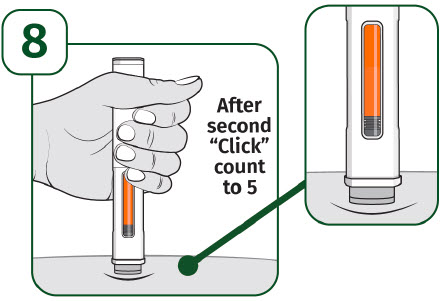
Image Of After Second Click (AI instructions for use)
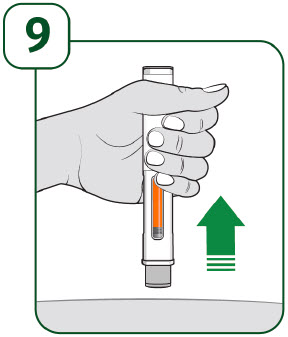
Image Of Proper Pull Away Of Udenyca Autoinjector Post Injection (AI instructions for use)
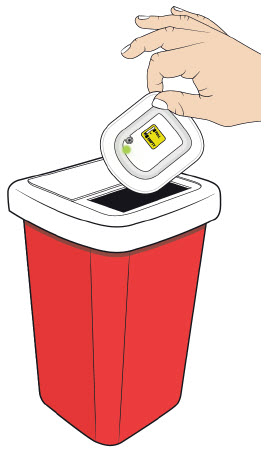
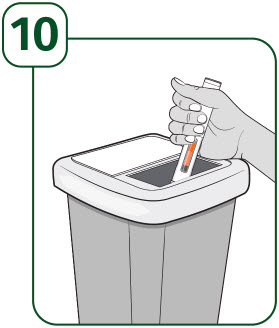
Image Of Disposal Of Used Udenyca Autoinjector (AI instructions for use)
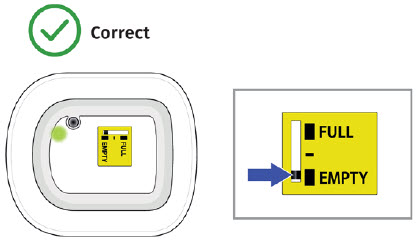
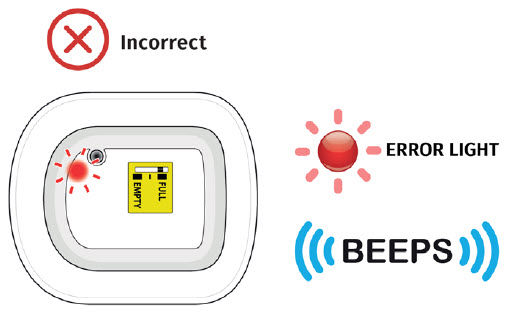
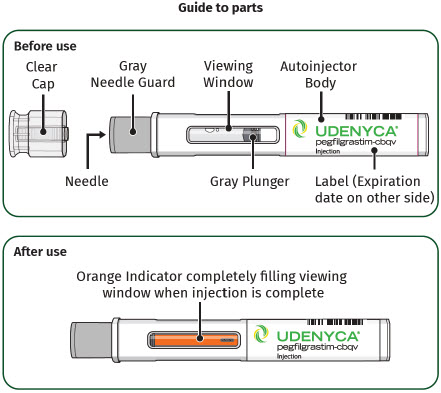
Image Of Before Use And After Use (AI instructions for use)
* About these descriptions: Image descriptions on this page are generated by automated AI analysis of the product label images from the manufacturer's FDA label submission (SPL). They are provided for reference only and may contain errors or omissions. Always rely on the printed label itself and the official FDA labeling, and consult a pharmacist or healthcare professional with any questions about this product.