Enoxaparin Sodium Injection, Solution
Product Images NDC 72603-185
Product Visual Gallery
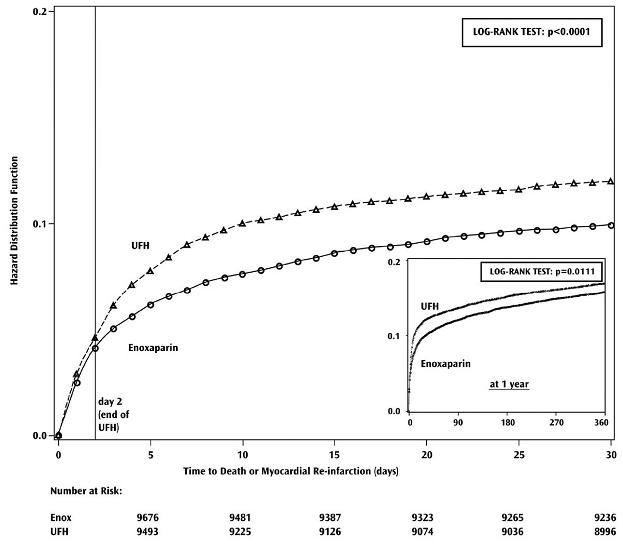
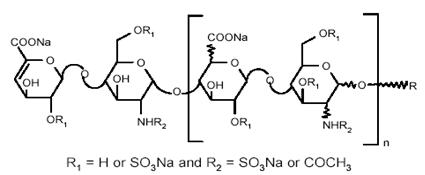
This gallery contains 45 technical images submitted to the FDA as part of the official labeling for Enoxaparin Sodium (NDC 72603-185). Unlike standard consumer photos, these assets often include clinical data figures, molecular chemical structures, and official manufacturer packaging layouts.
As provided by Northstar Rxllc, these visuals offer a comprehensive scientific overview of the product's physical and chemical identity, aiding pharmacists and researchers in product verification and study.
Product Images & Figures Index
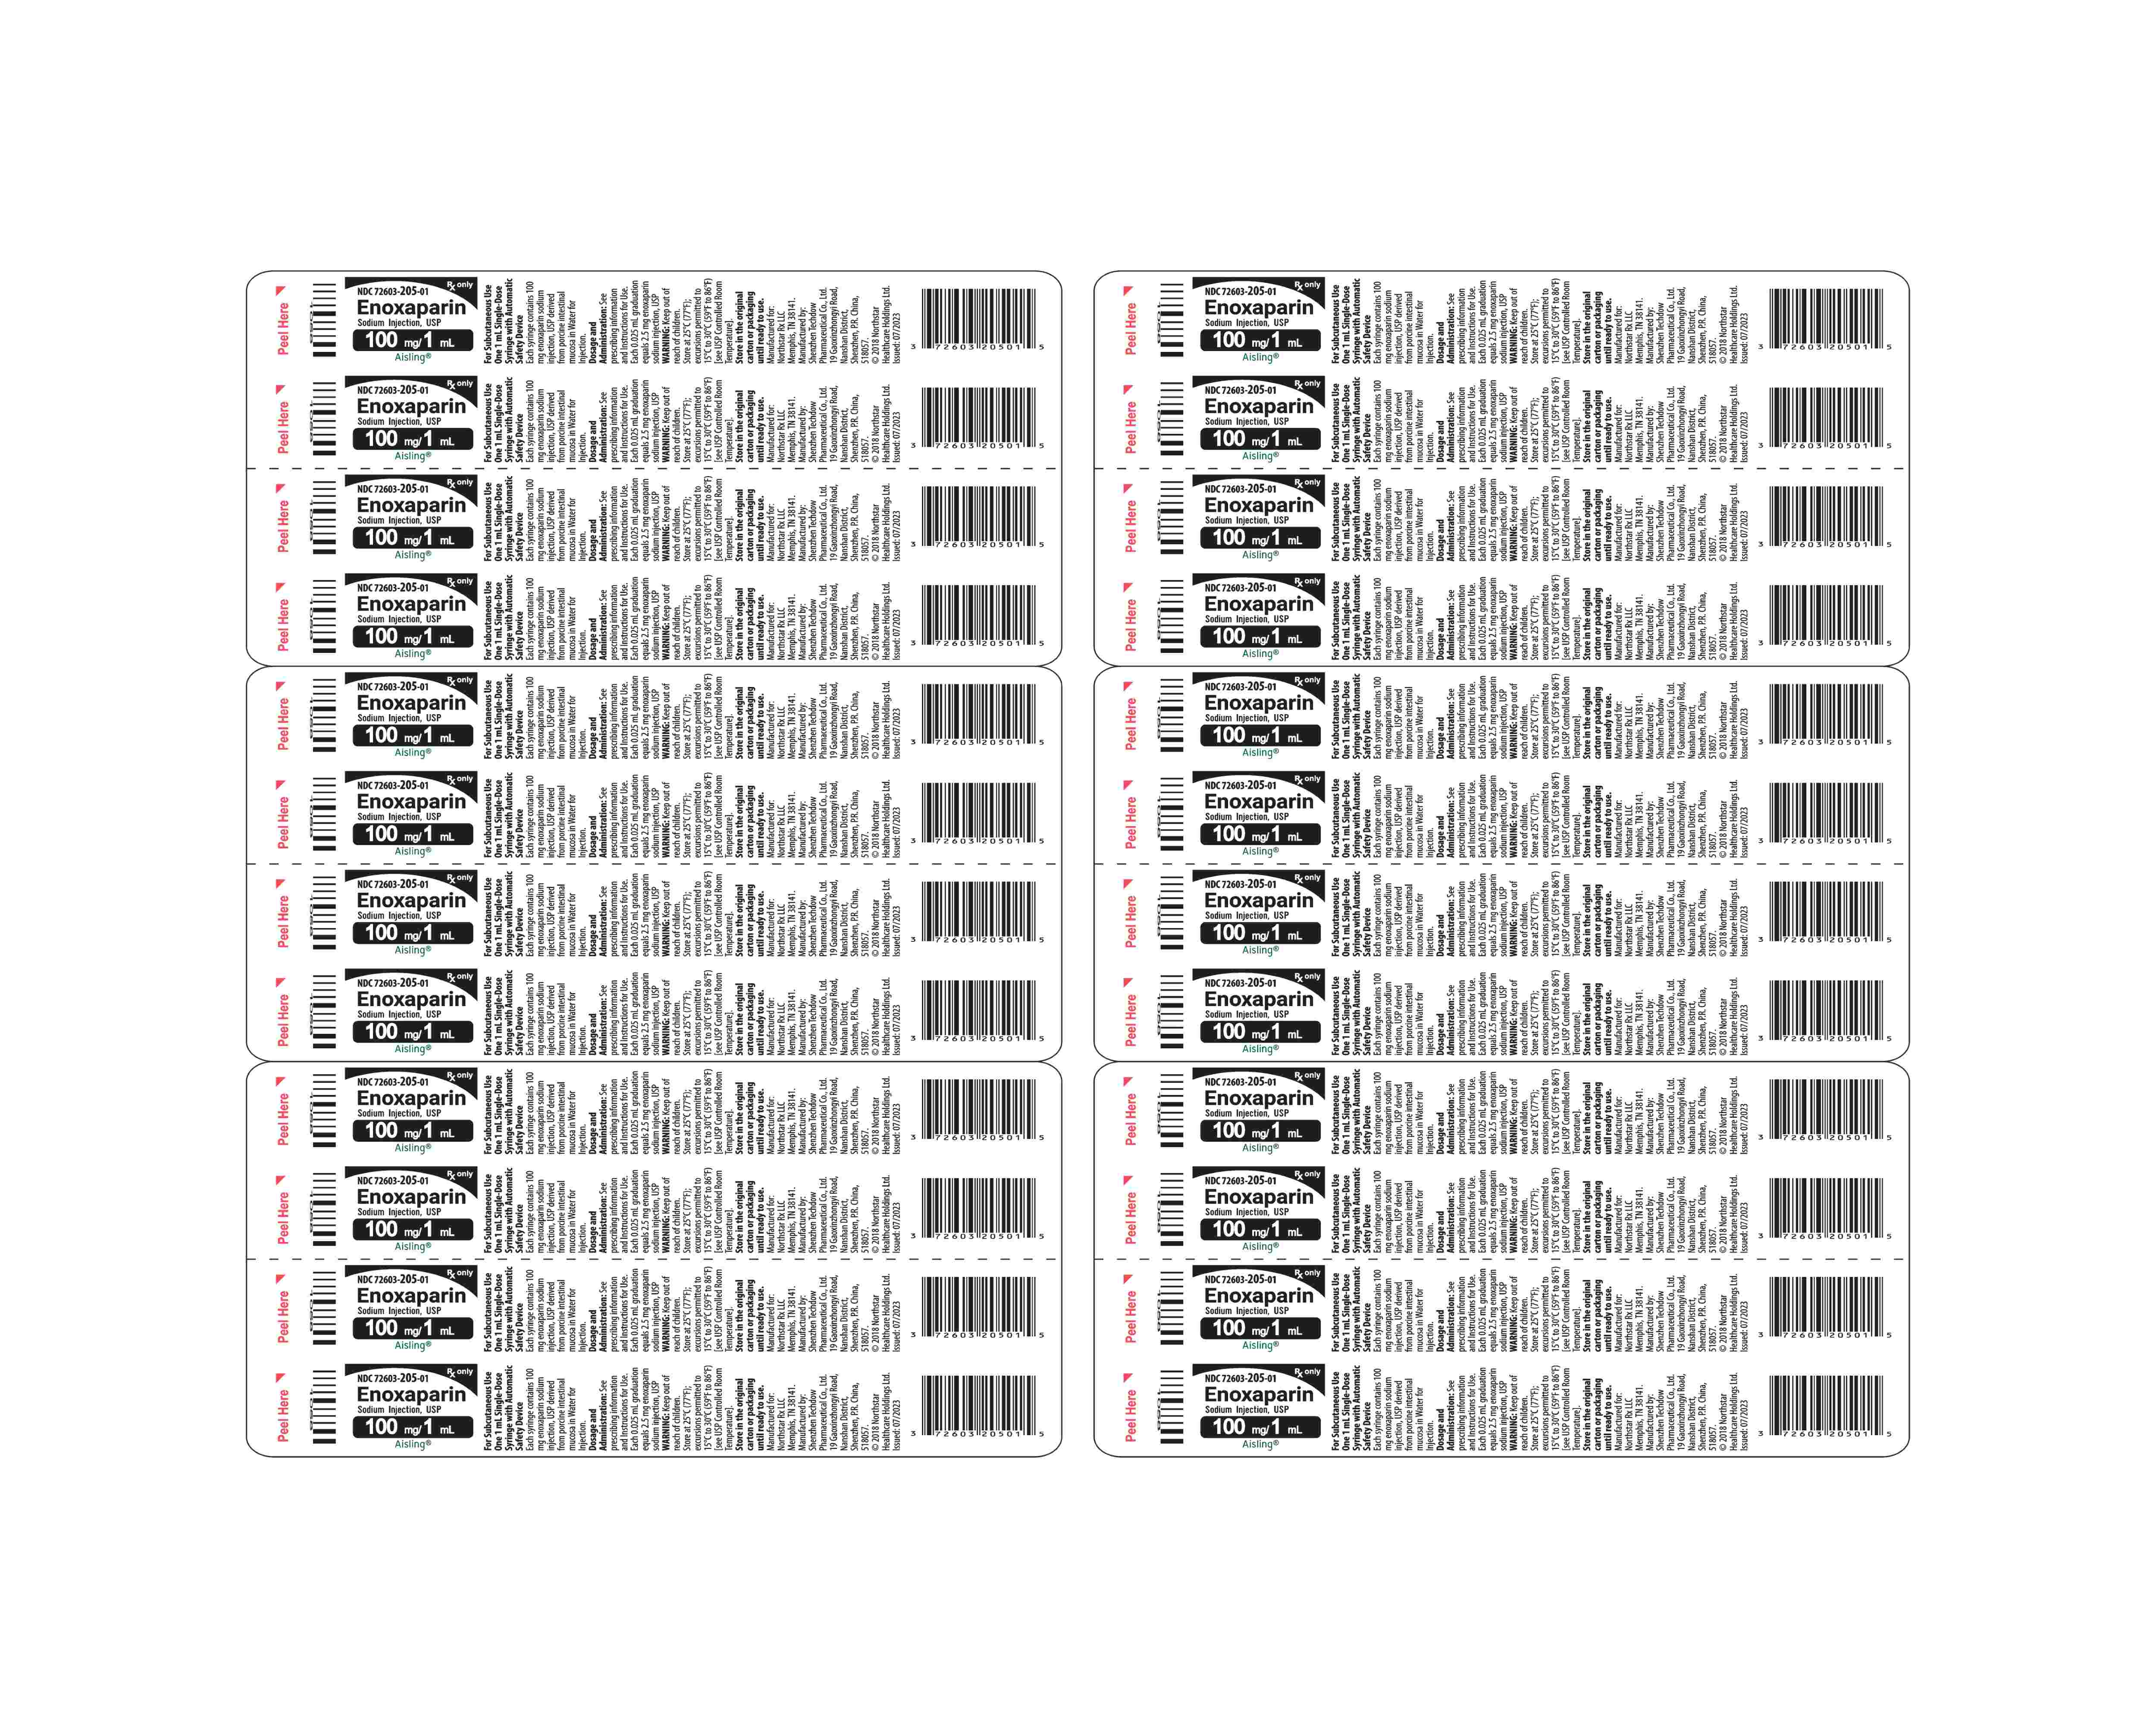
100mg Carton (100mg Carton)
100mg Syringe (100mg Syringe)
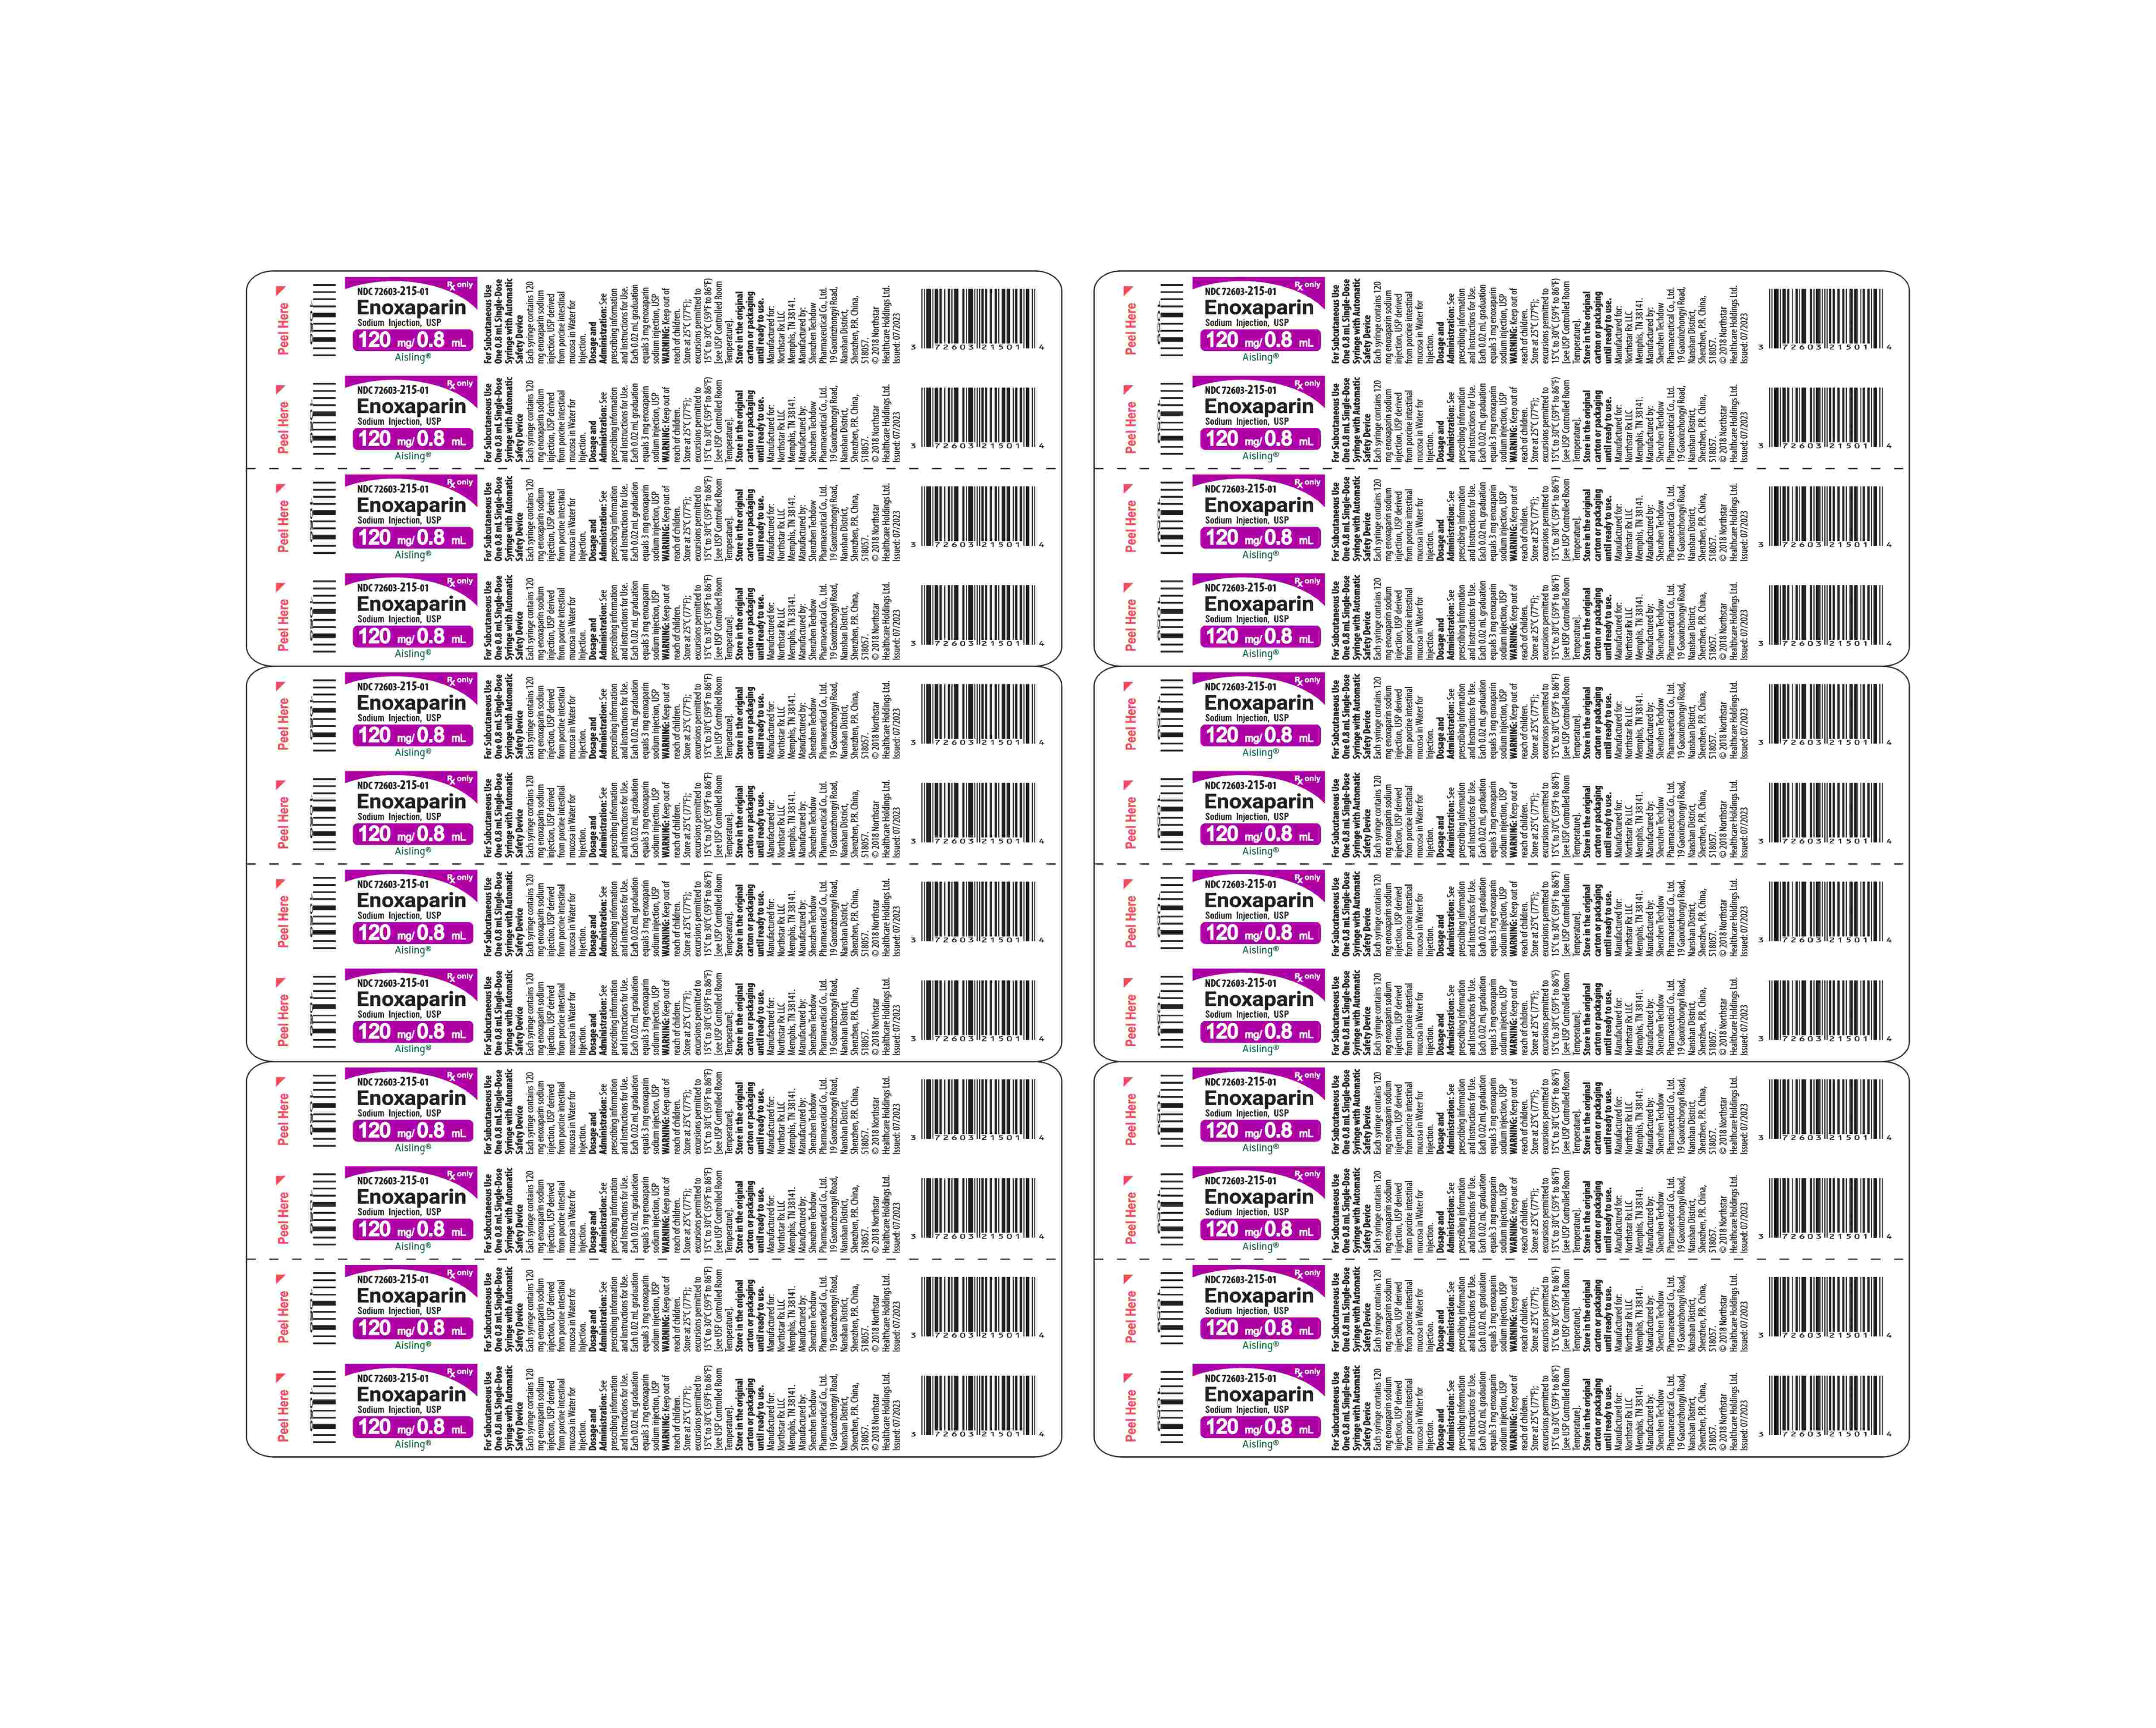
120mg Blister (120mg Blister)
120mg Carton (120mg Carton)
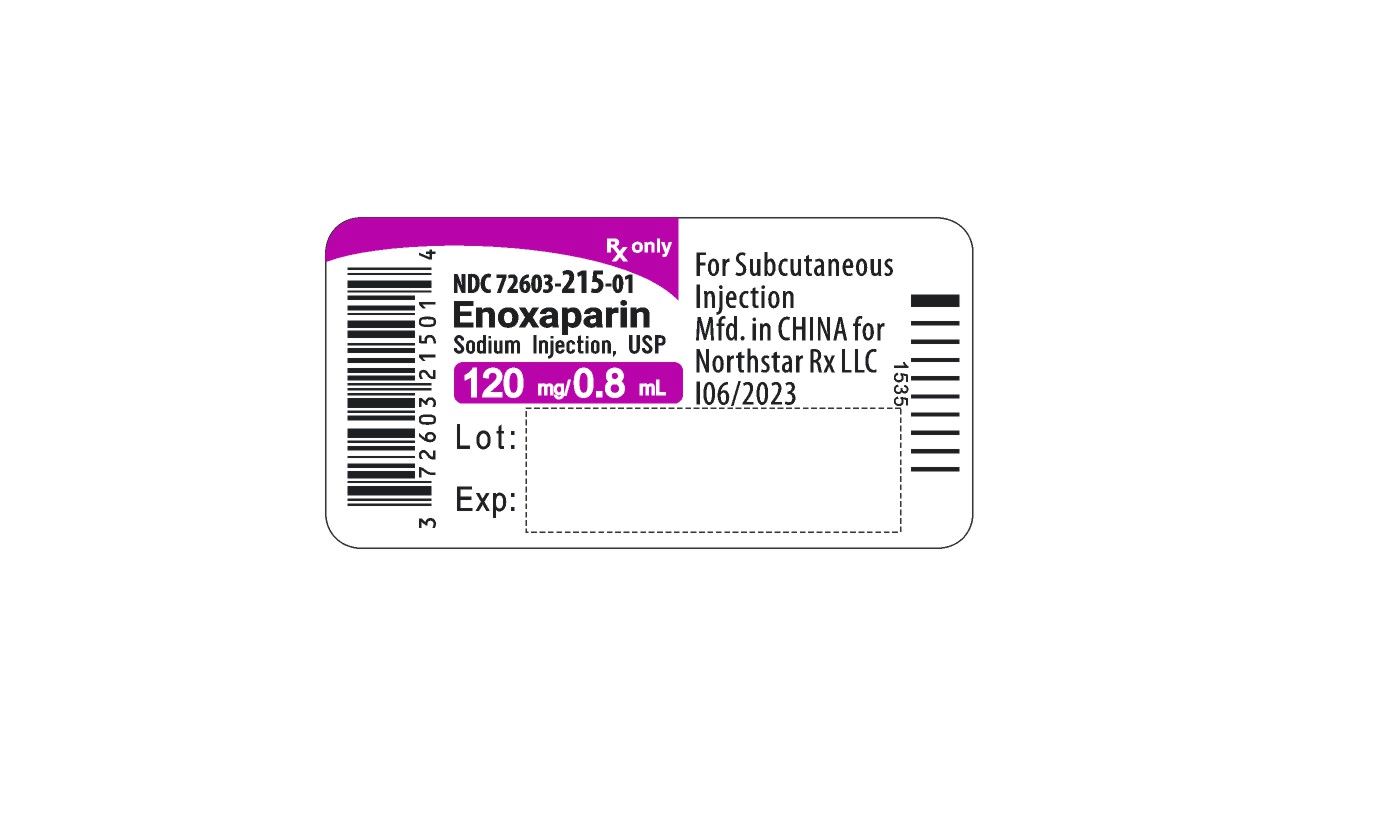
120mg Syringe (120mg Syringe)
150mg Blister (150mg Blister)
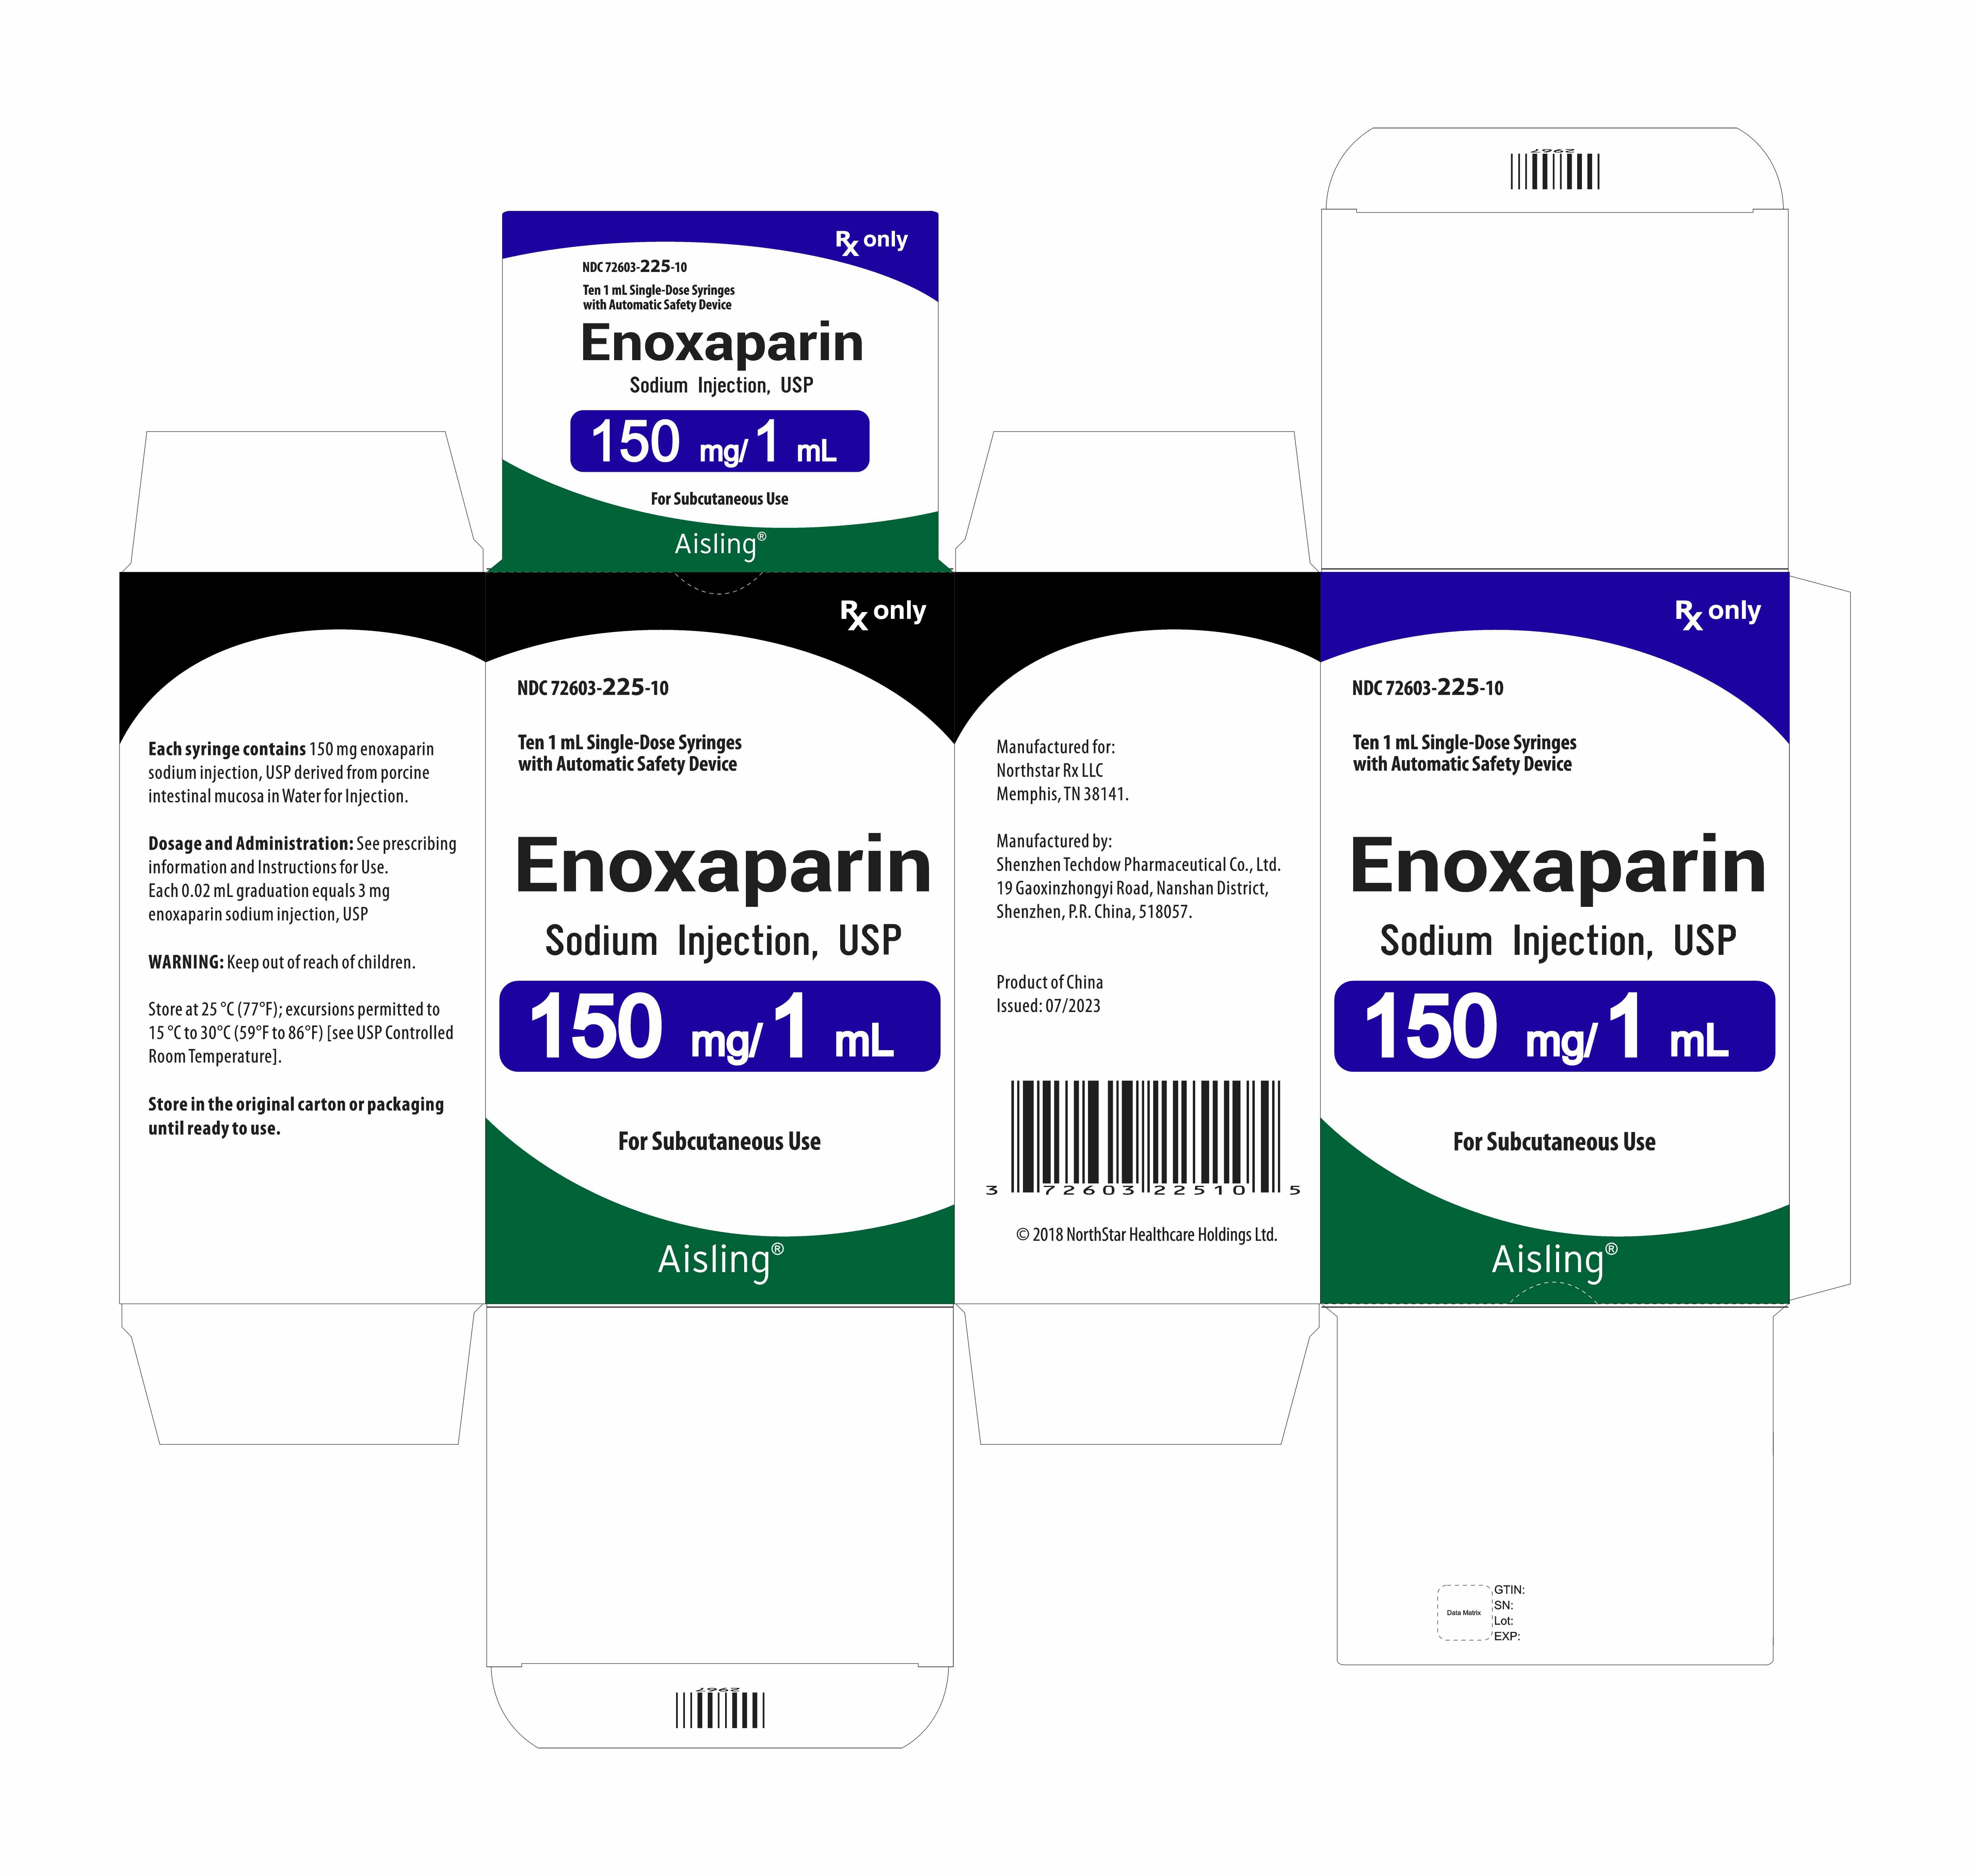
150mg Carton (150mg Carton)
150mg Syringe (150mg Syringe)
30mg Blister (30mg Blister)
30mg Carton (30mg Carton)
Syringe (30mg Syringe)
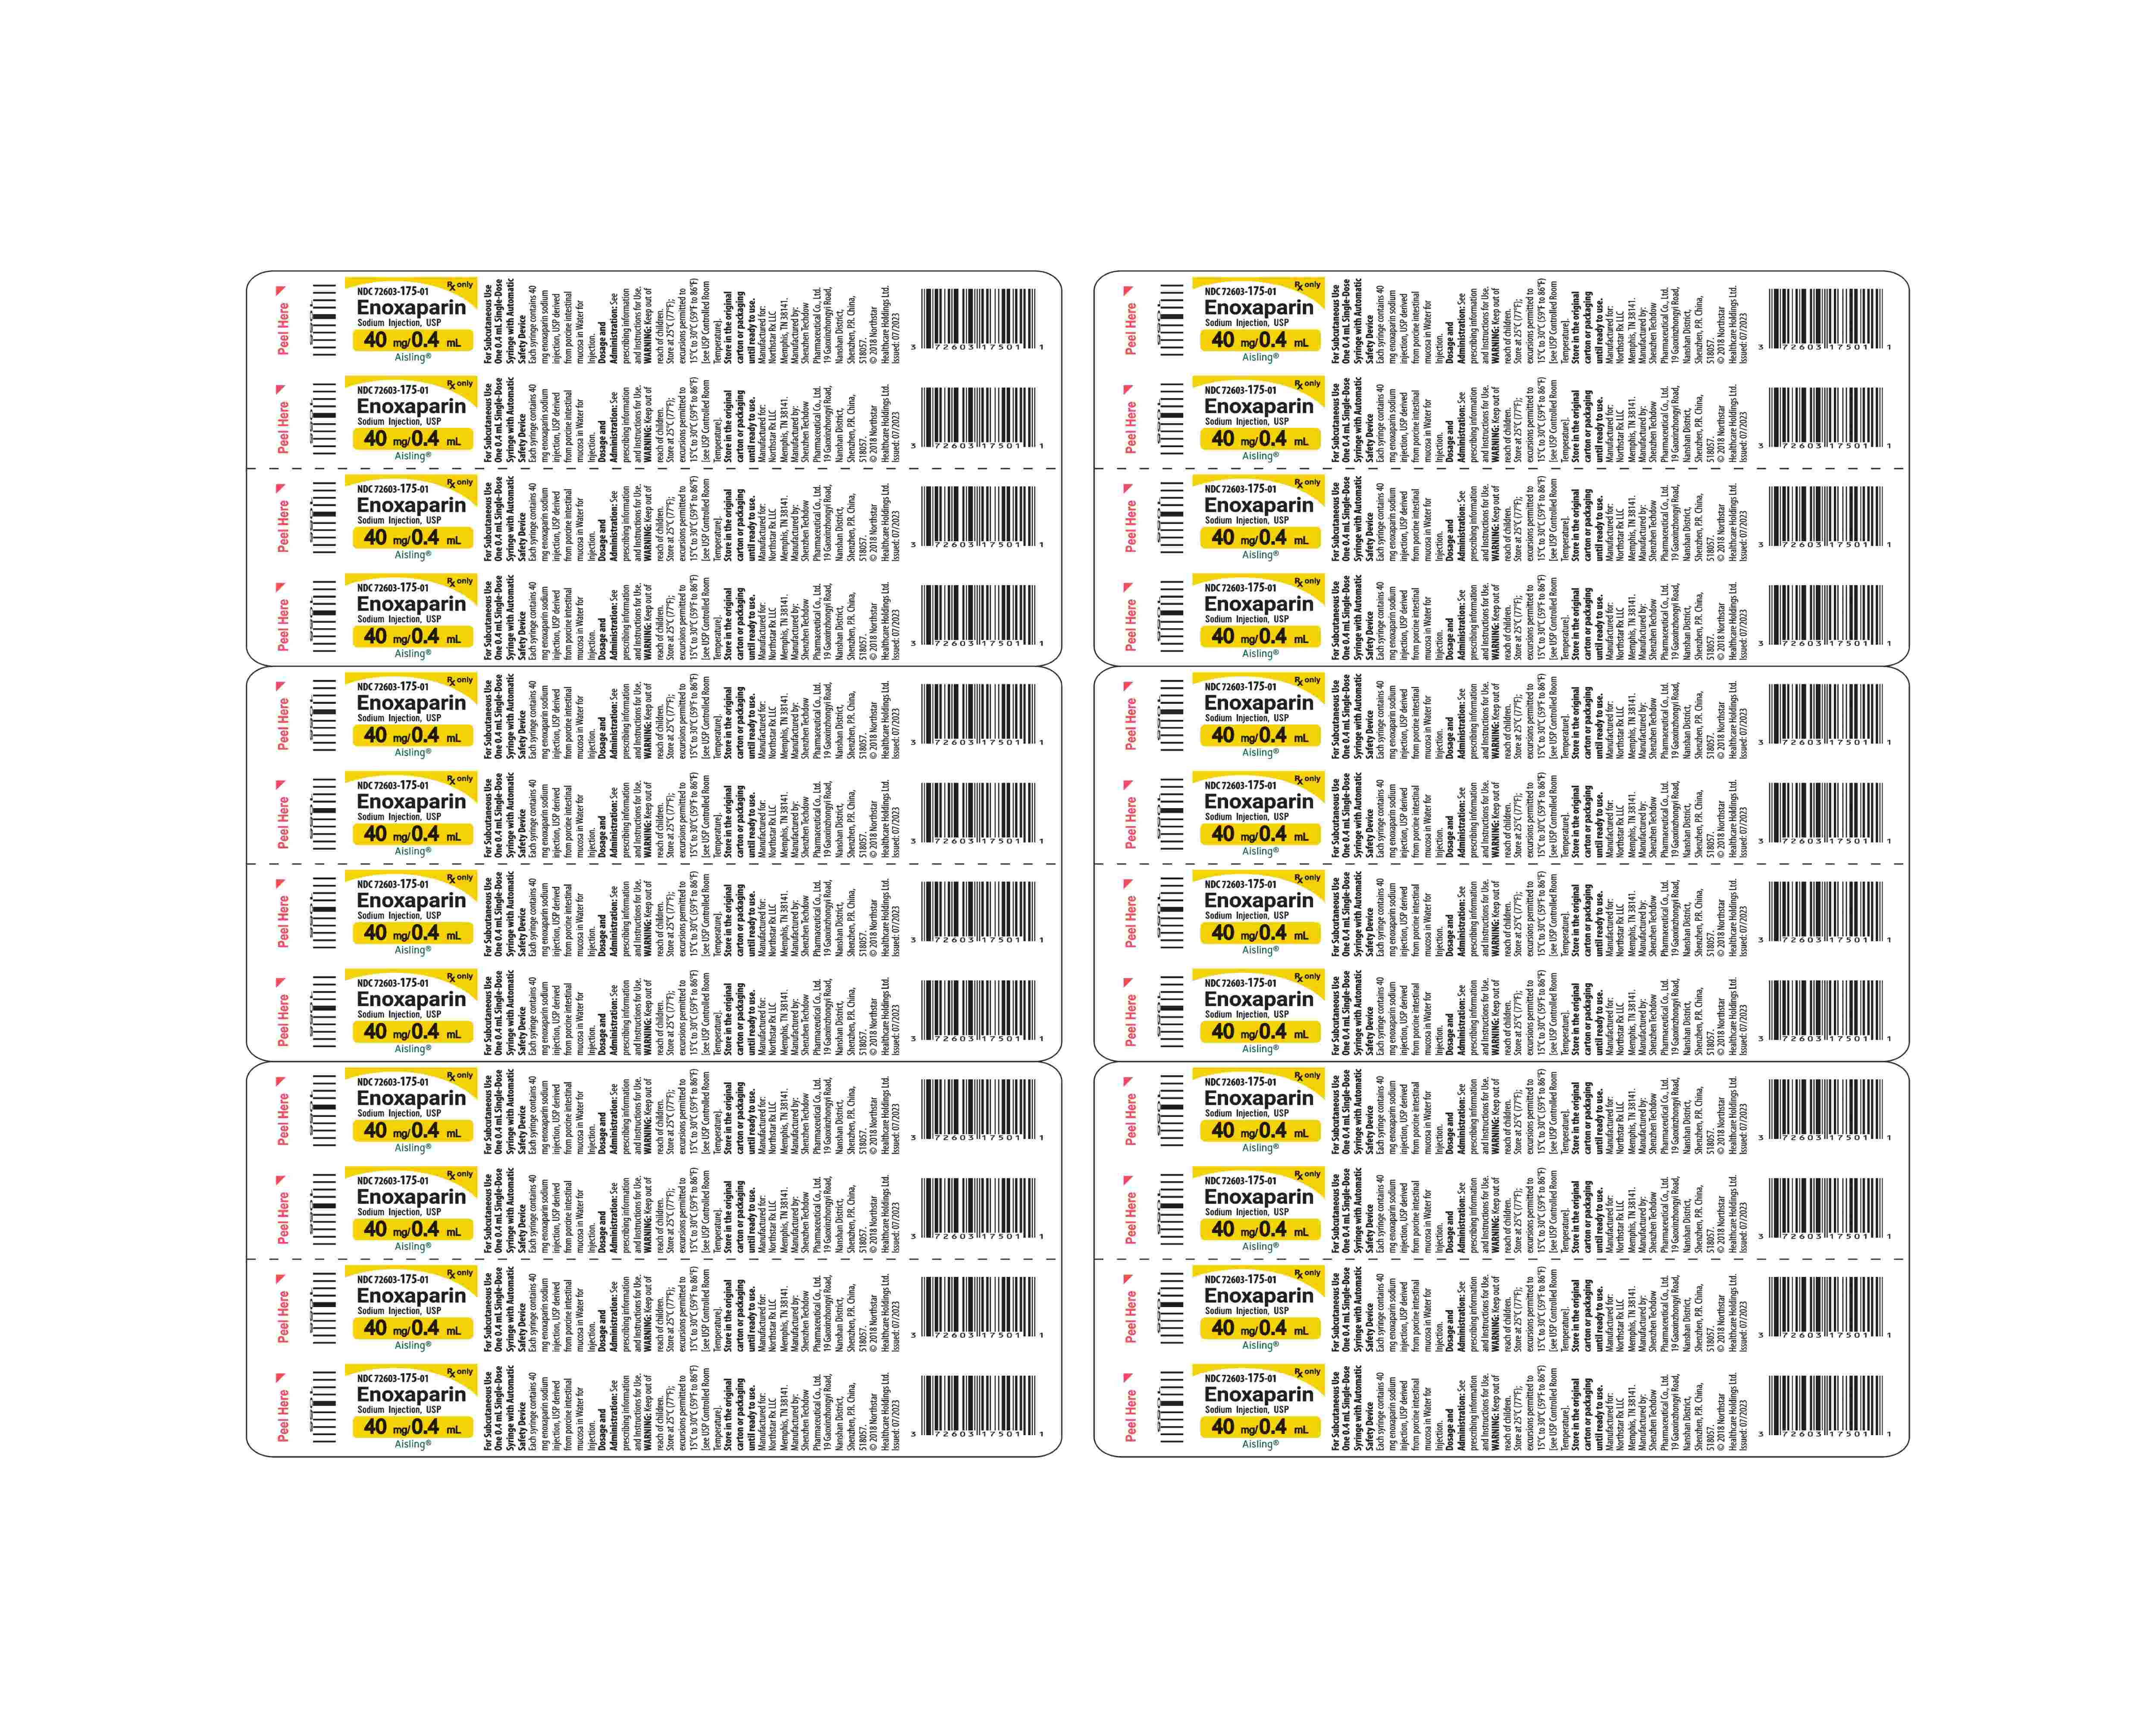
40mg Blister (40mg Blister)
40mg Carton (40mg Carton)
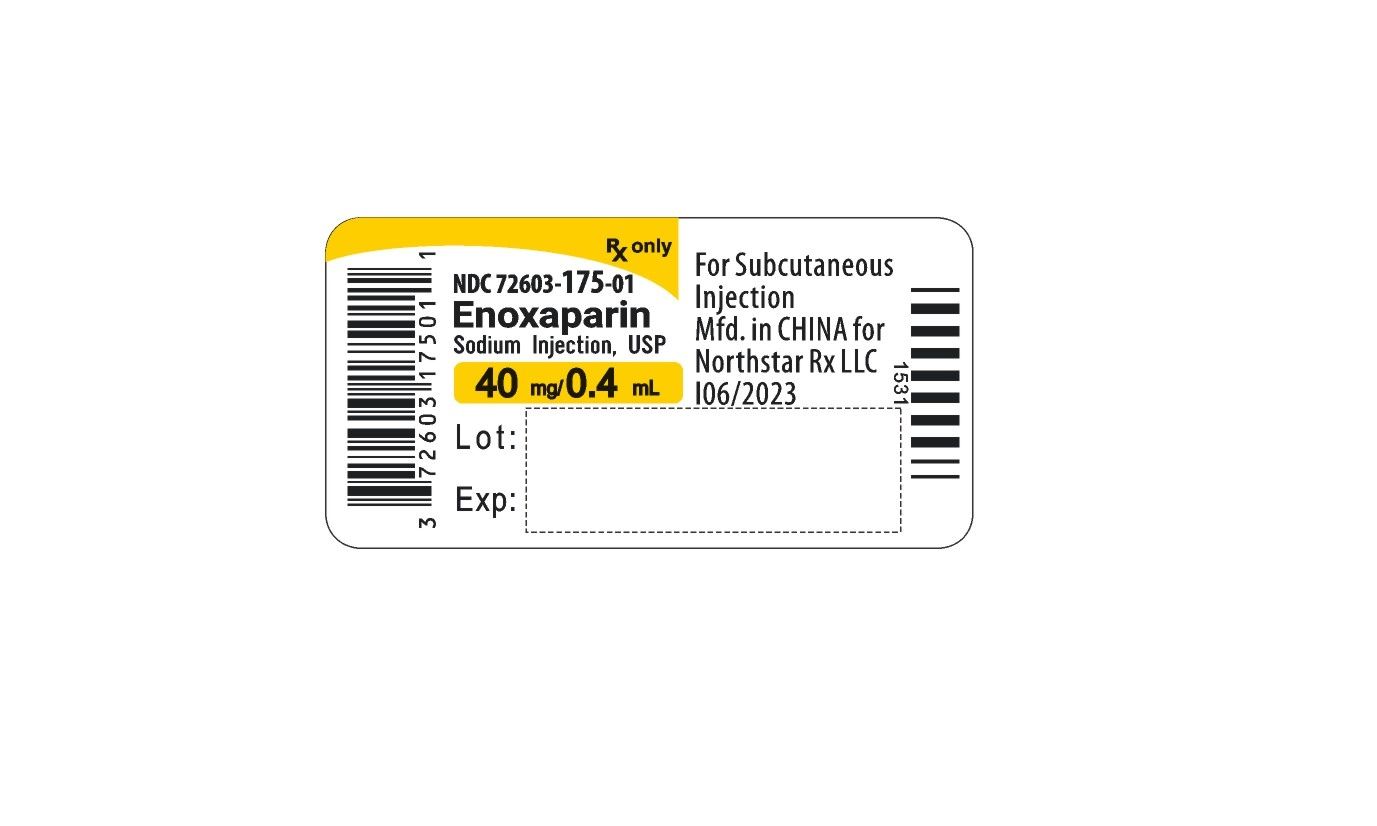
40mg Syringe (40mg Syringe)
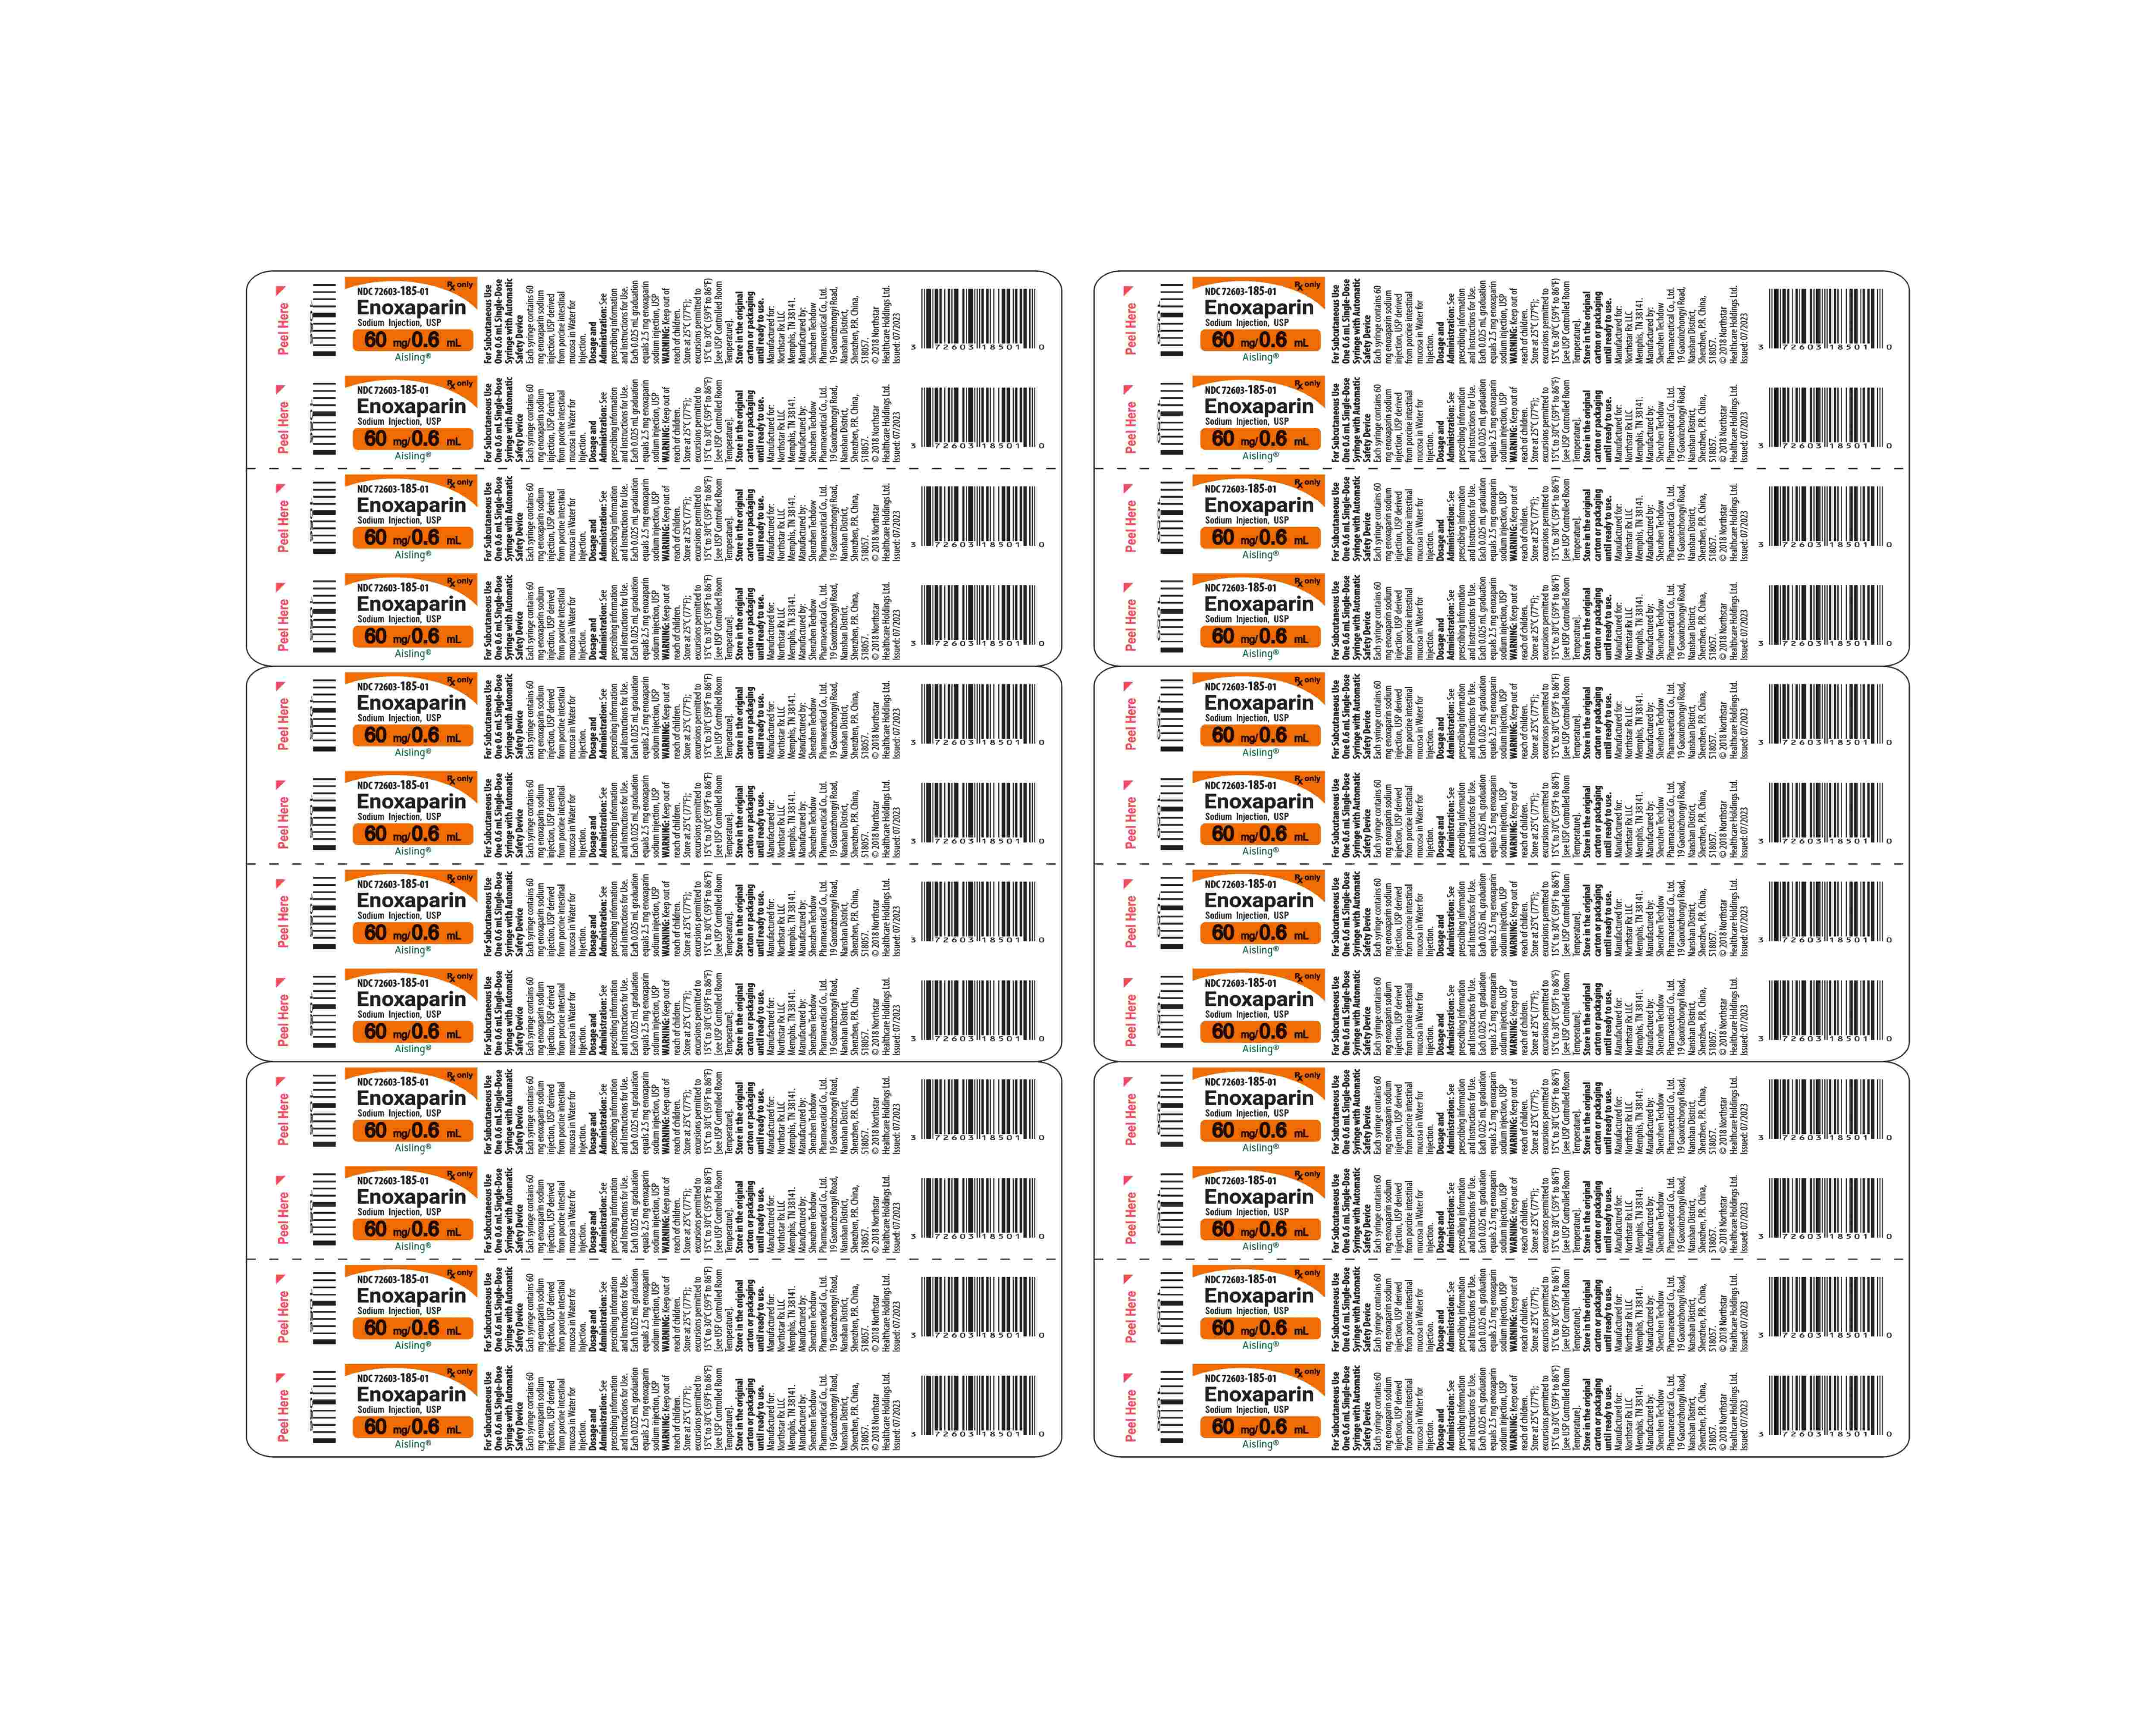
60mg Blister (60mg Blister)
60mg Carton (60mg Carton)
60mg Syringe (60mg Syringe)
80mg Blister (80mg Blister)
80mg Carton (80mg Carton)
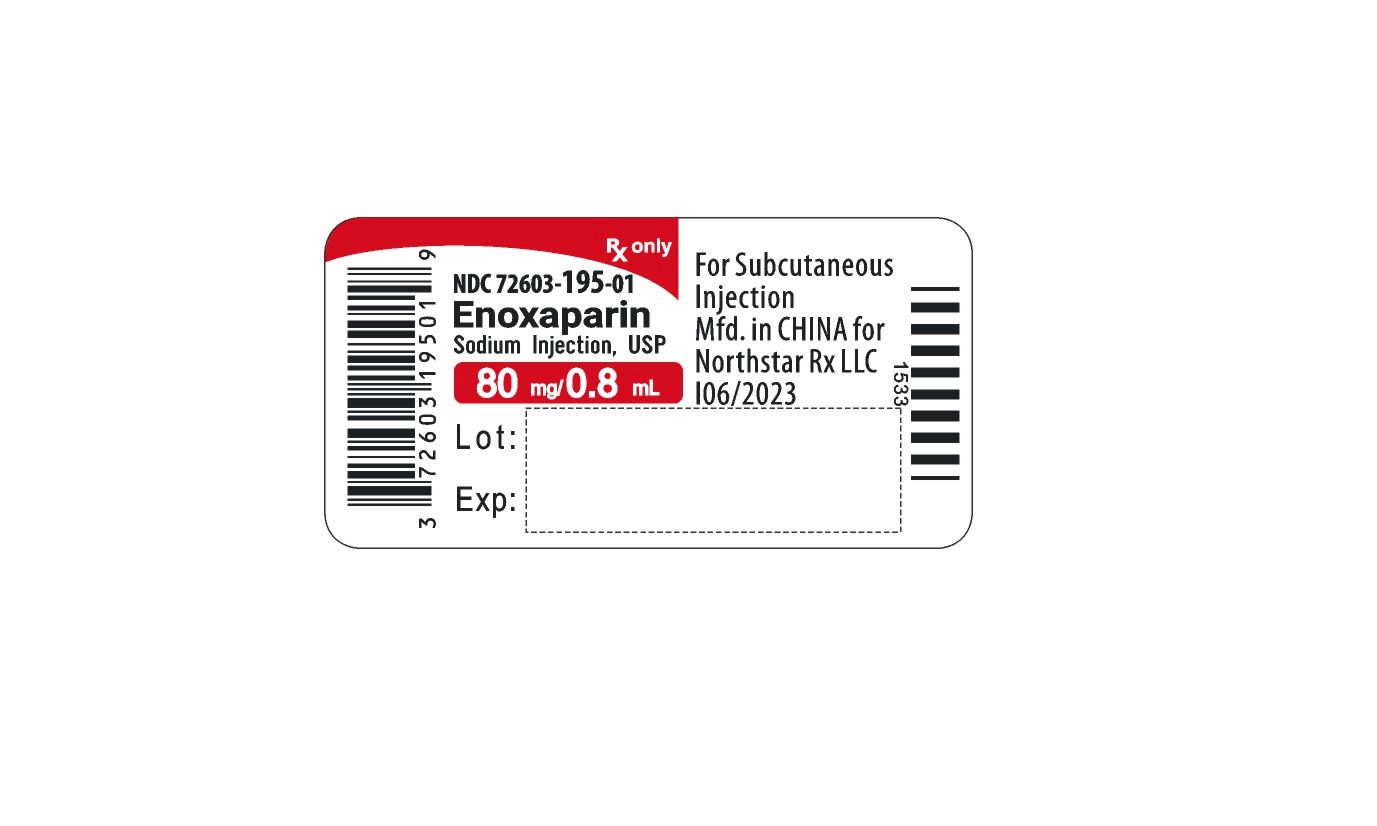
80mg Syringe (80mg Syringe)
Enoxaparin-fig6 (Enoxaparin Fig6)
Enoxaparin-fig7 (Enoxaparin Fig7)
Enoxaparin-str1 (Enoxaparin Str1)
Enoxaparin-str2 (Enoxaparin Str2)
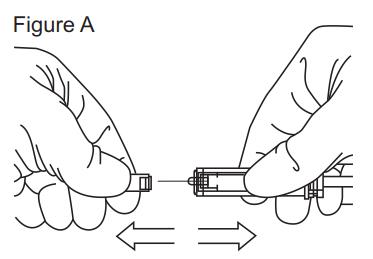
Figure-a (Figure A)
Figure-b (Figure B)
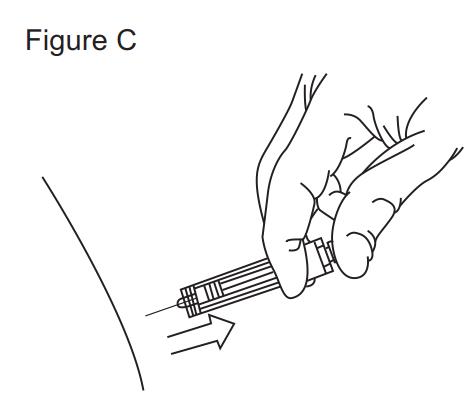
Figure-c (Figure C)
Figure-d (Figure D)
Figure-e (Figure E)
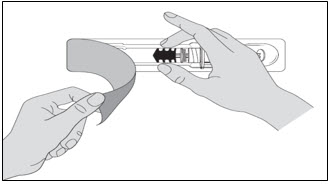
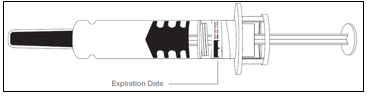
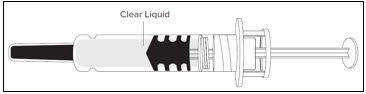
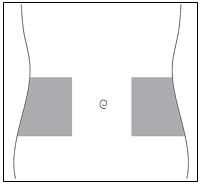
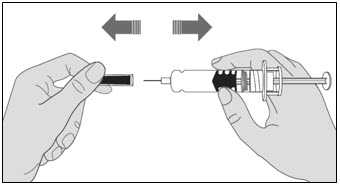
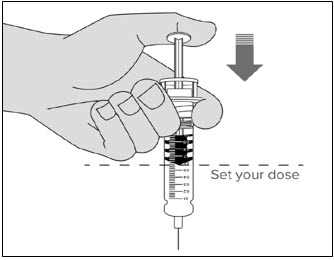
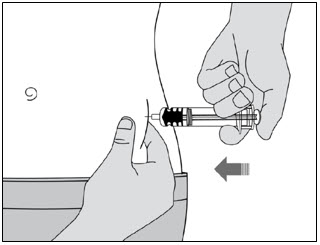
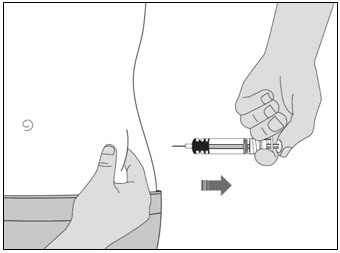
Instruction-for-us-figure-a (Instruction For Us Figure A)
Instruction-for-us-figure-b (Instruction For Us Figure B)
Instruction-for-us-figure-c (Instruction For Us Figure C)
Instruction-for-us-figure-d (Instruction For Us Figure D)
Instruction-for-us-figure-e (Instruction For Us Figure E)
Instruction-for-us-figure-f (Instruction For Us Figure F)
Instruction-for-us-figure-g (Instruction For Us Figure G)
Instruction-for-us-figure-h (Instruction For Us Figure H)
Instruction-for-us-figure-i (Instruction For Us Figure I)
Instruction-for-us-figure-j (Instruction For Us Figure J)
Instruction-for-us-figure-k (Instruction For Us Figure K)
Instruction-for-us-figure-l (Instruction For Us Figure L)
Instruction-for-us-figure-m (Instruction For Us Figure M)
Instruction-for-us-figure-n (Instruction For Us Figure N)
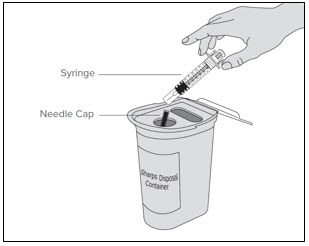
Instruction-for-us-figure (Instruction For Us Figure)
* About these descriptions: Image descriptions on this page are generated by automated AI analysis of the product label images from the manufacturer's FDA label submission (SPL). They are provided for reference only and may contain errors or omissions. Always rely on the printed label itself and the official FDA labeling, and consult a pharmacist or healthcare professional with any questions about this product.