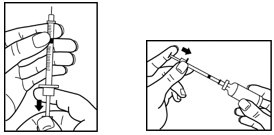
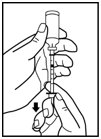
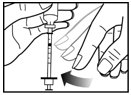
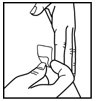
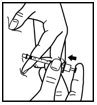
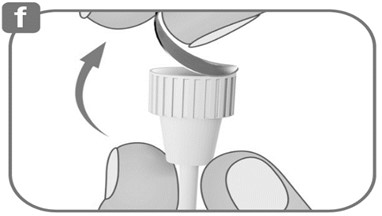
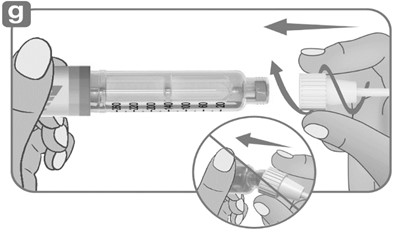
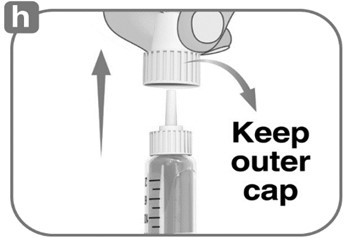
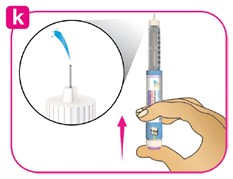
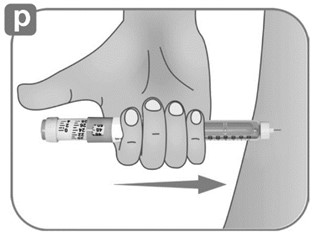
Site Of Injection On Body (Image 01)
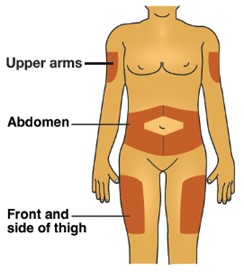
Upper arms, abdomen, and side of thigh are mentioned in the text. This suggests that the text is discussing different body parts. However, without further context, it is not possible to determine the specific details or purpose of the text.*